> For the complete documentation index, see [llms.txt](https://captivatehelp.newbluelive.com/llms.txt). Markdown versions of documentation pages are available by appending `.md` to page URLs; this page is available as [Markdown](https://captivatehelp.newbluelive.com/set-up-your-production/chapter-index-4/instant-replay-configure.md).
# Set up Instant Replay
> *Availability — included in Broadcast and Enterprise.*
Captivate includes Instant Replay — a continuous circular buffer recorded from one or more armed live video sources, plus an in-Switcher panel for trimming and rolling clips on air. This article covers the project-time setup: arming sources, picking buffer length, and choosing the entry and exit transitions.
For the runtime operator workflow (scrubbing, in/out points, playback speed, freeze frames, Quick Settings during the show), see [Instant Replay during the show](/set-up-your-production/chapter-index-4/instant-replay-during-show.md).
**❗ IMPORTANT**\
Instant Replay does not currently work with Audio Sources.
* [Basic Project Setup](#basic-project-setup)
* [Configure Instant Replay](#configure-instant-replay)
* [Resource Use Cases](#resource-use-cases)
## Basic Project Setup
1. Ensure your Live Video Switching panel is open by clicking the **Switcher** icon in the top Menu Bar so that it highlights in blue, or go to **View** > **Video Switcher** so there is a check visible.
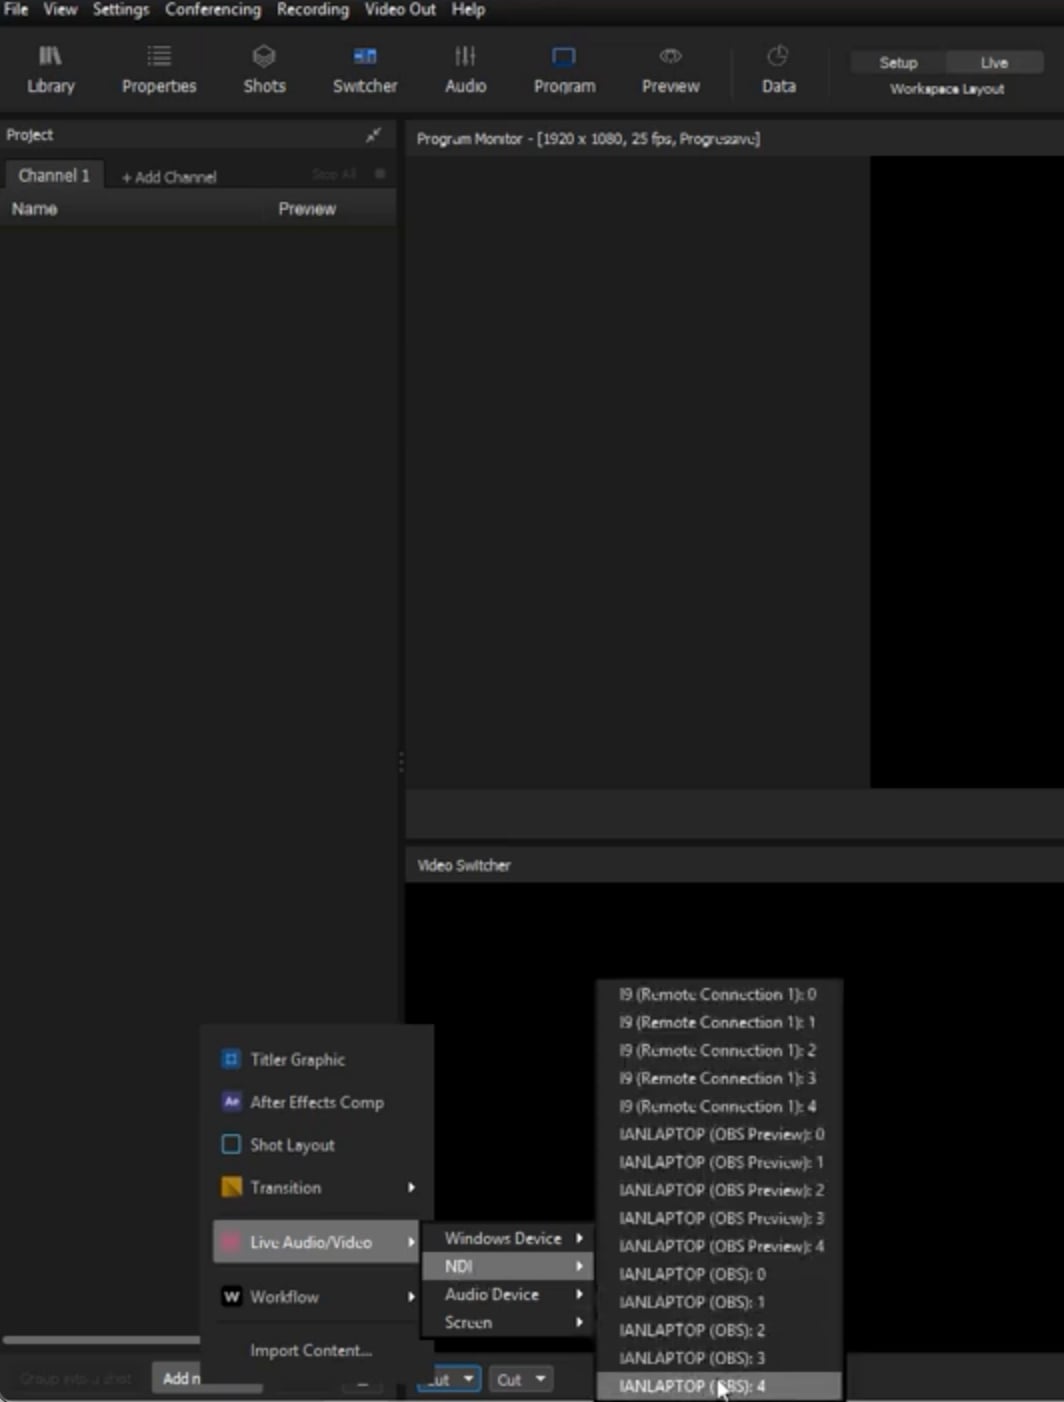
2. Add a new live video source by going to one of the following:
* **File** > **New** > **Live Audio/Video** > choose video source from the options connected.
* Anywhere in the **Project List** > Right-click > **New** > **Live Audio/Video** > choose video source from the options connected.
* In the bottom of the Project List panel, click **Add New Live Audio/Video** > choose video source from the options connected.
**📌 NOTE**\
Available sources include NDI, SDI, any USB connected video device, or a live feed via Zoom, etc.
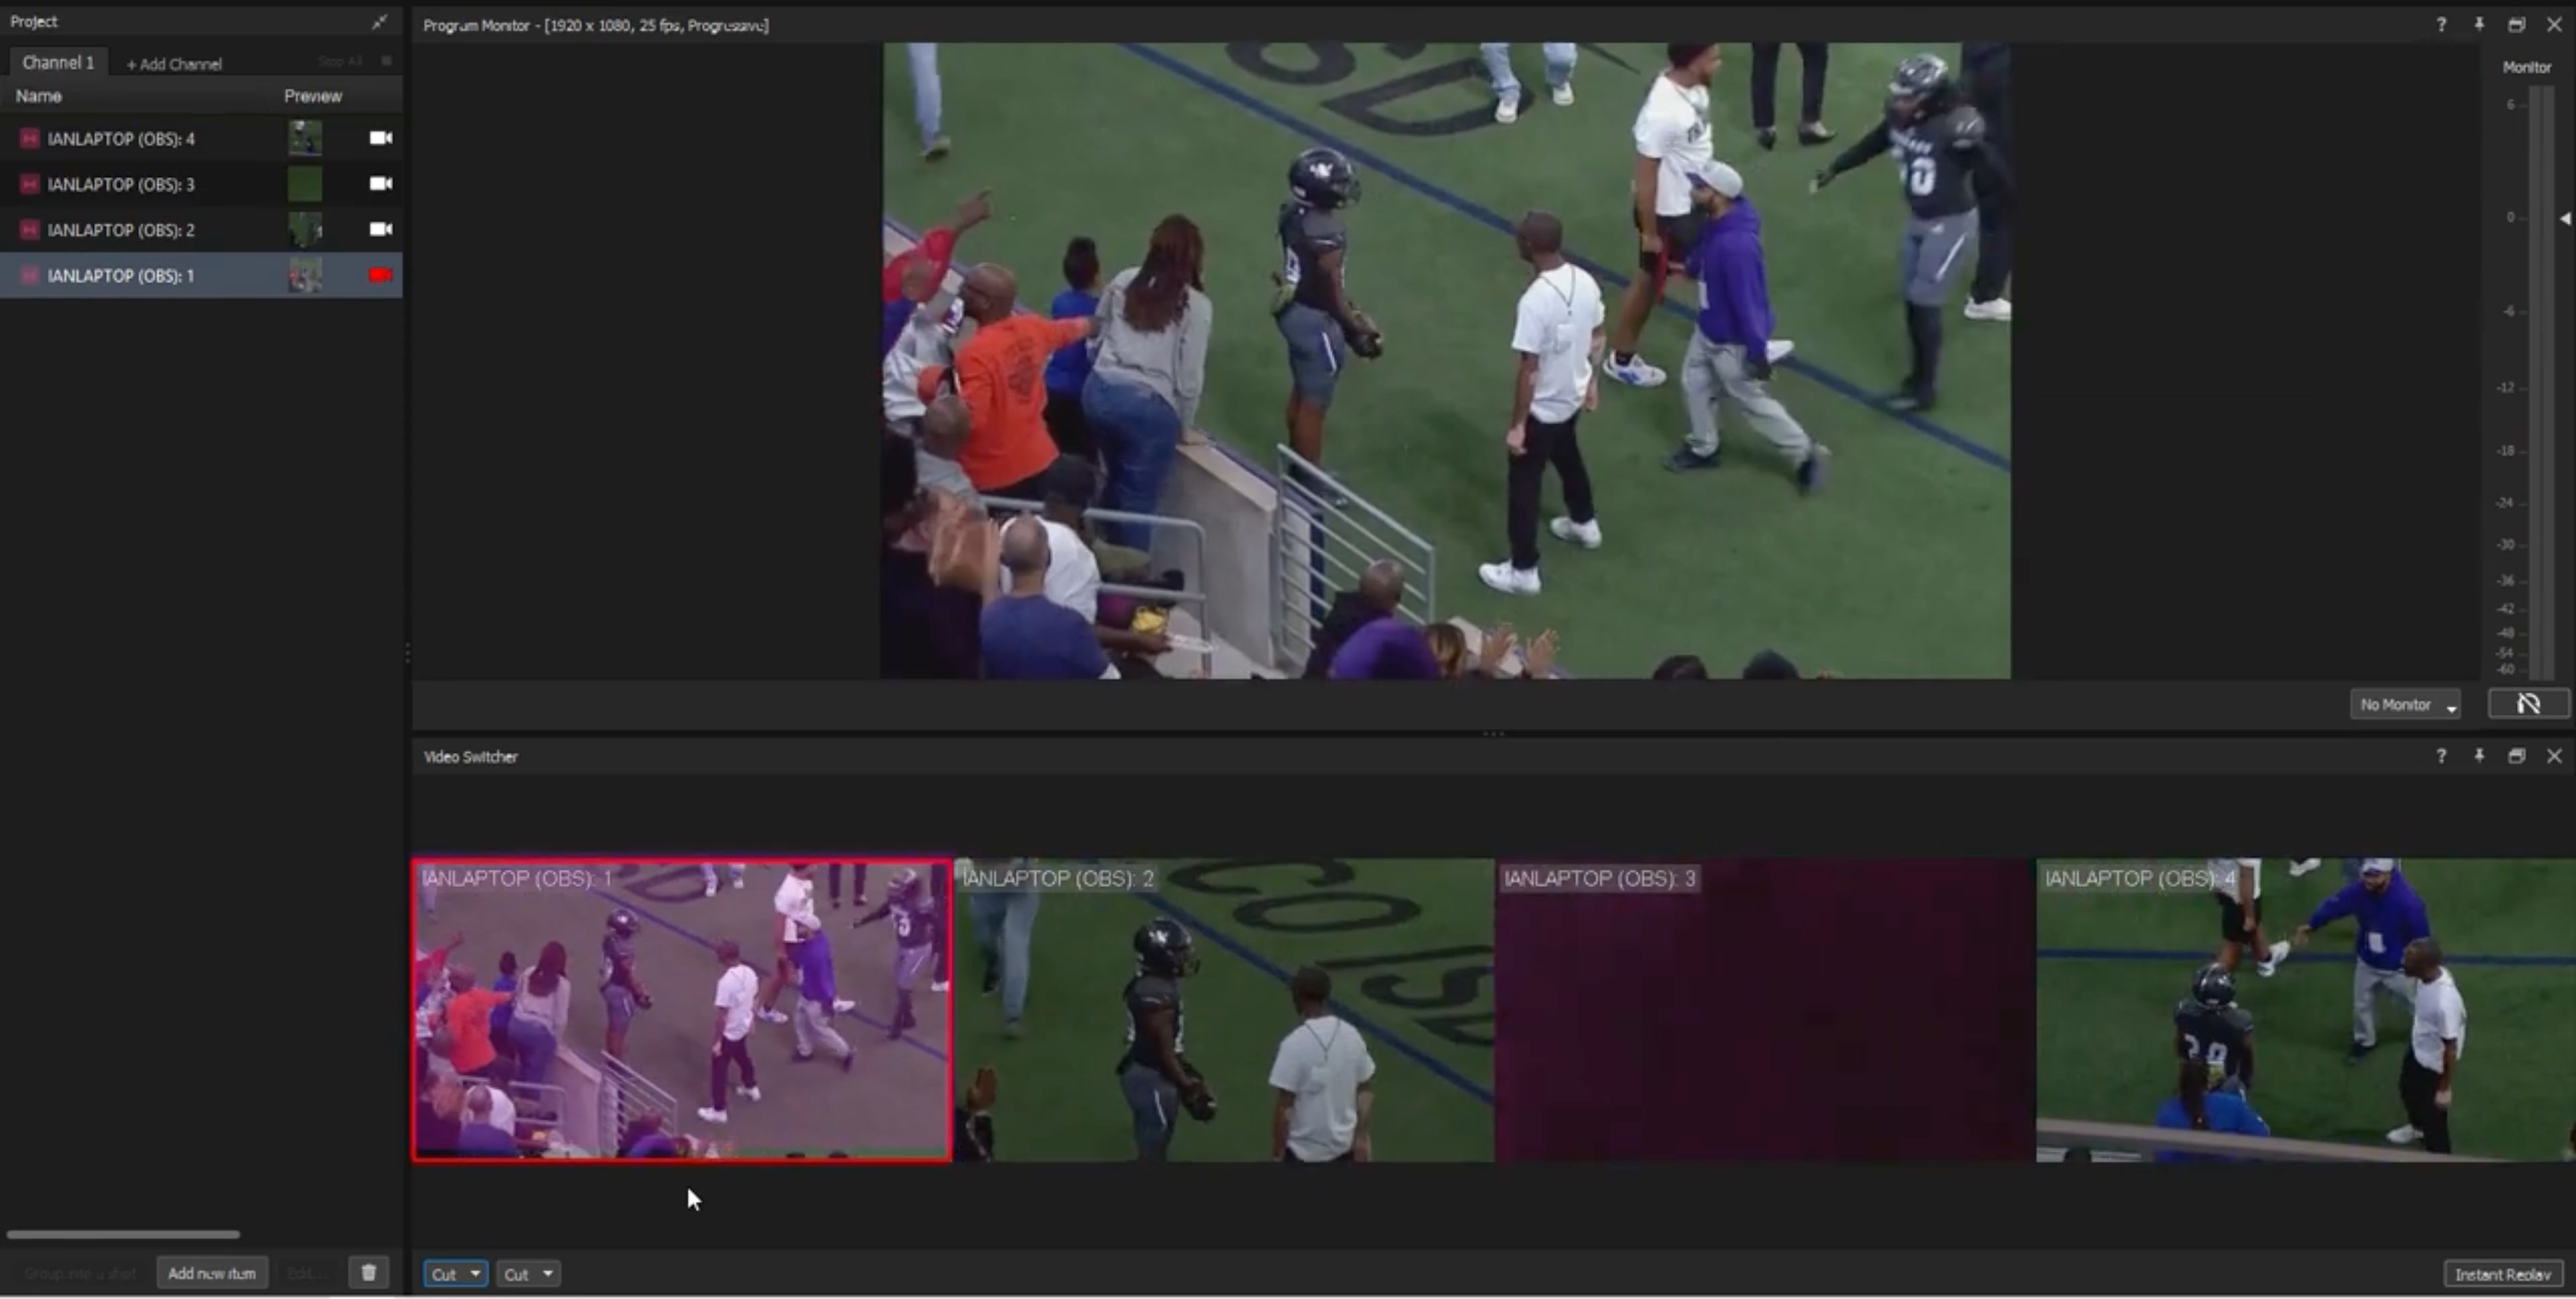
3. The live video sources will now be visible in the Live Video Switcher panel and a Live Audio/Video tab will open when the layer is selected. Click each to preview.
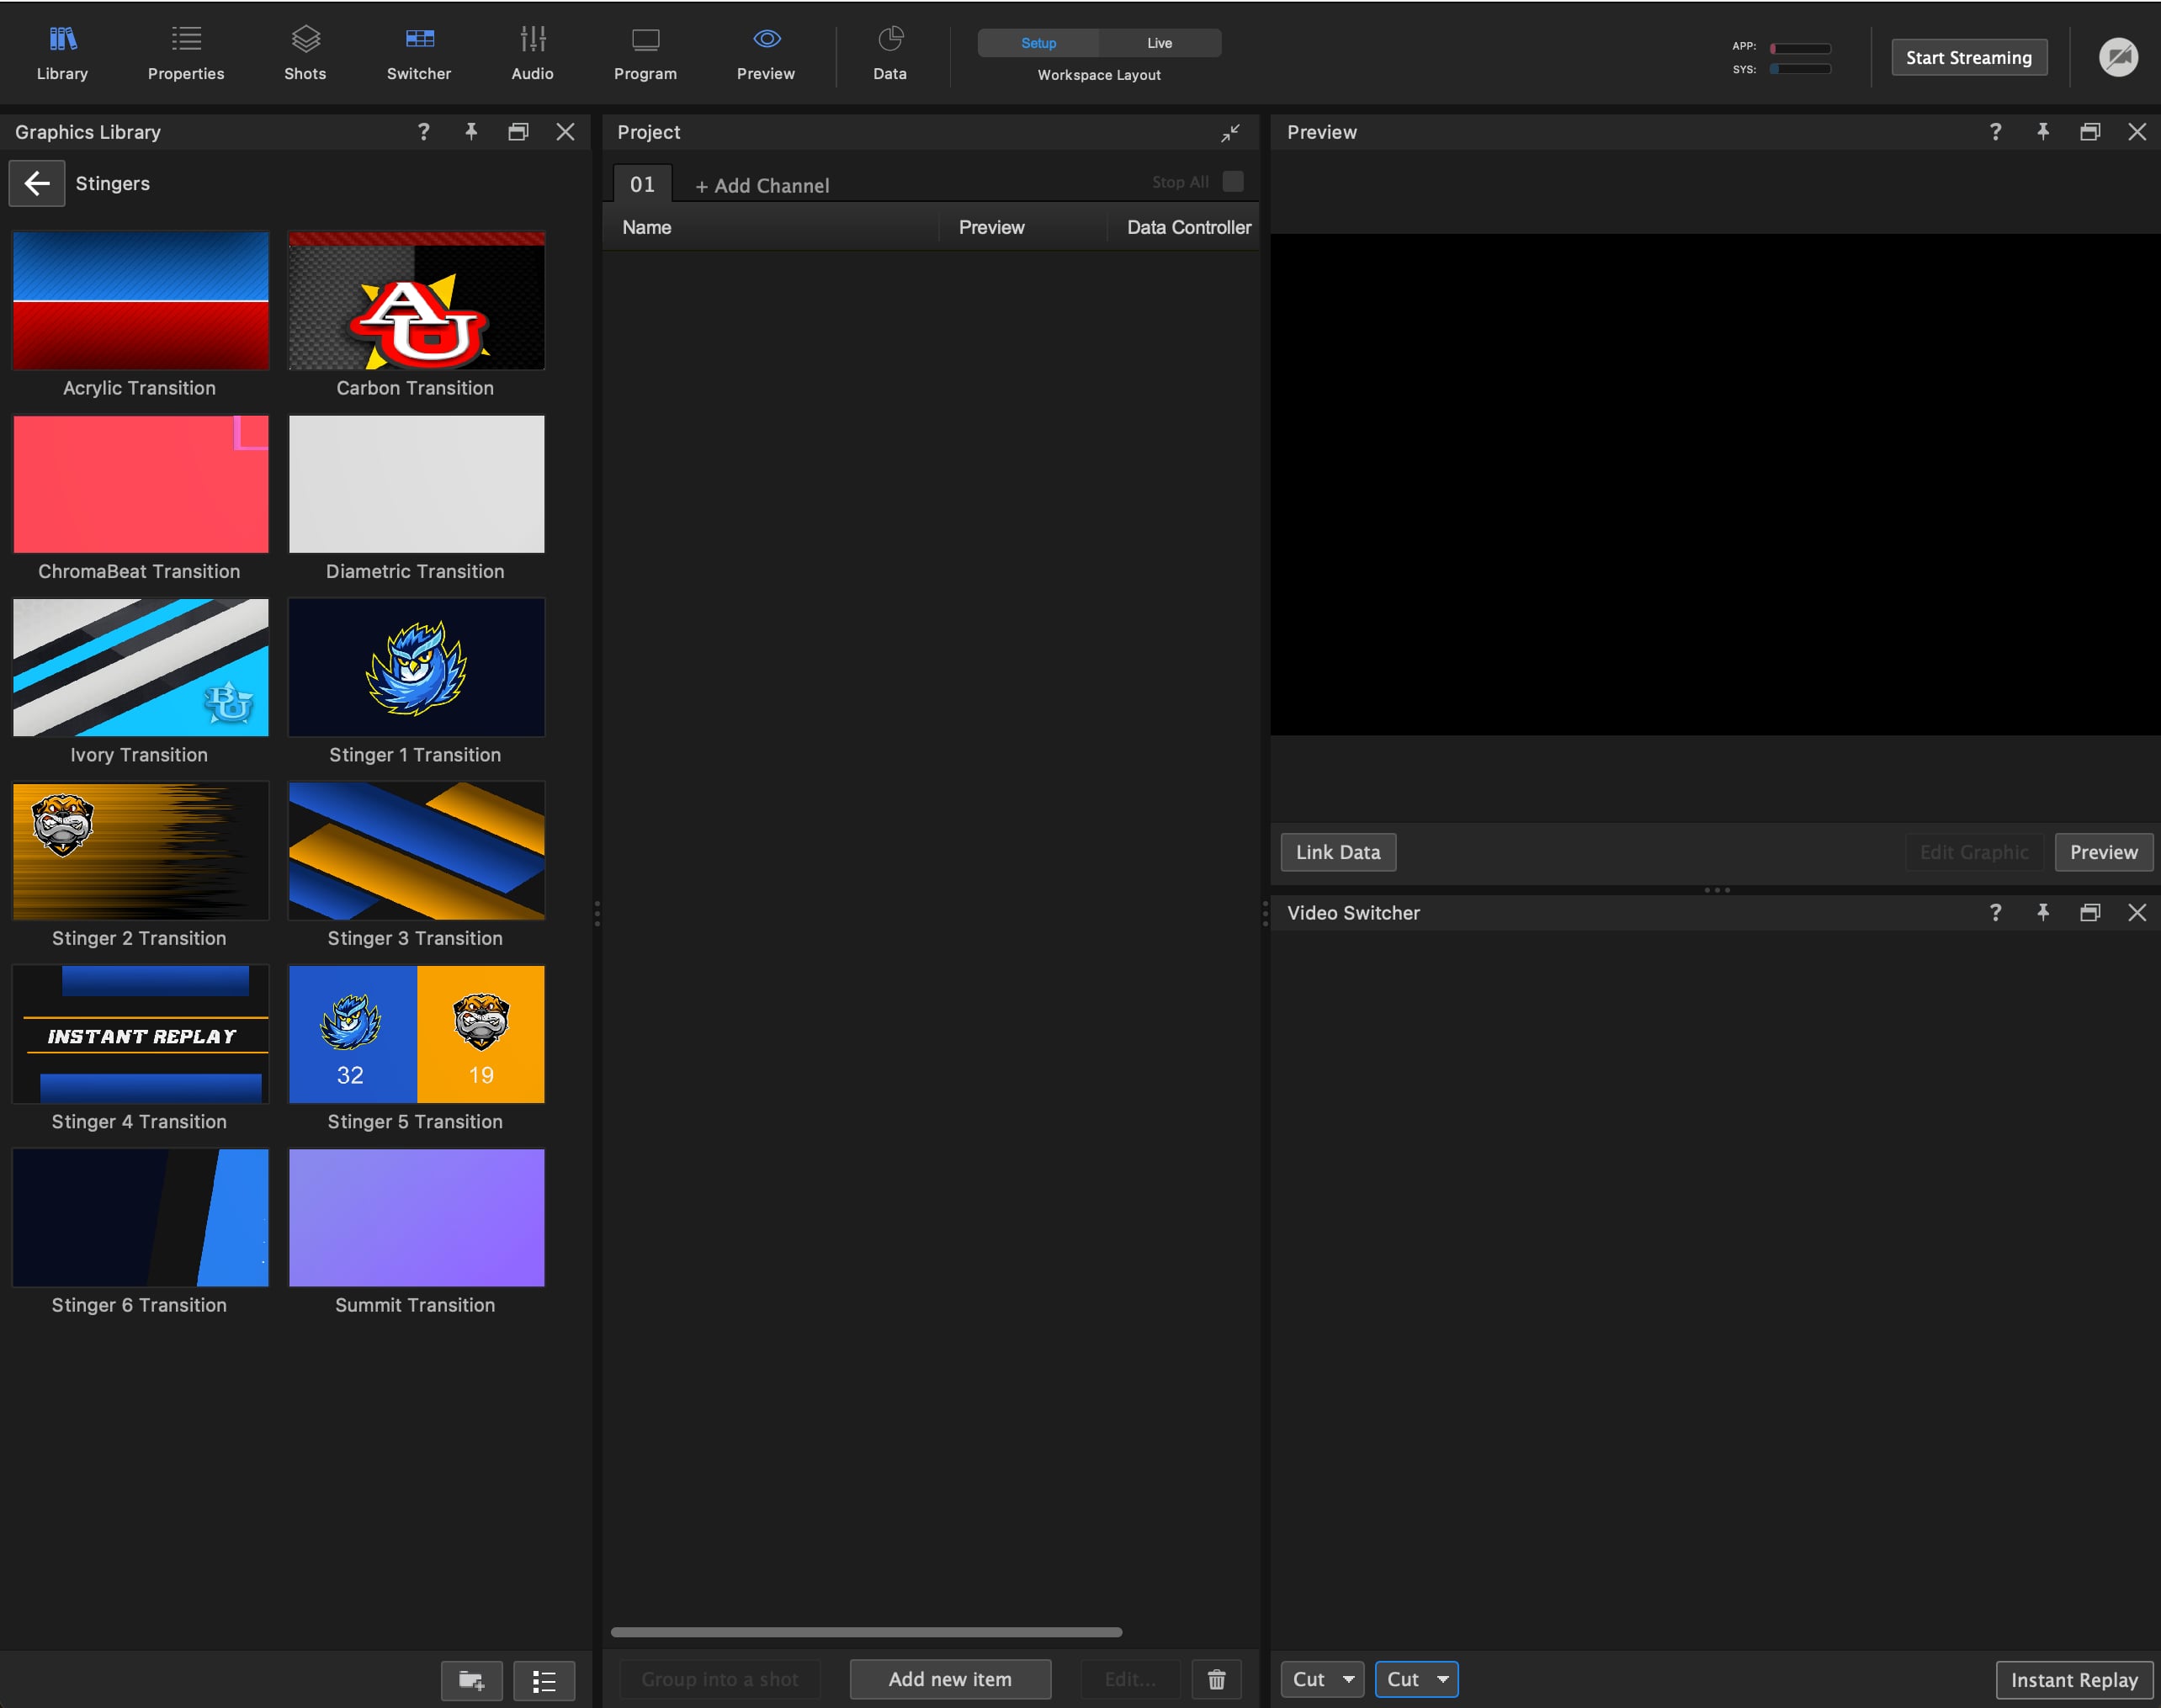
4. Choose a Stinger or Transition to enter and exit Instant Replay by going to the Library > **Stingers** or any folder with a Transition and drag into your Project List.
Your project is now set up to configure Instant Replay from within the Video Switcher panel.
## Configure Instant Replay
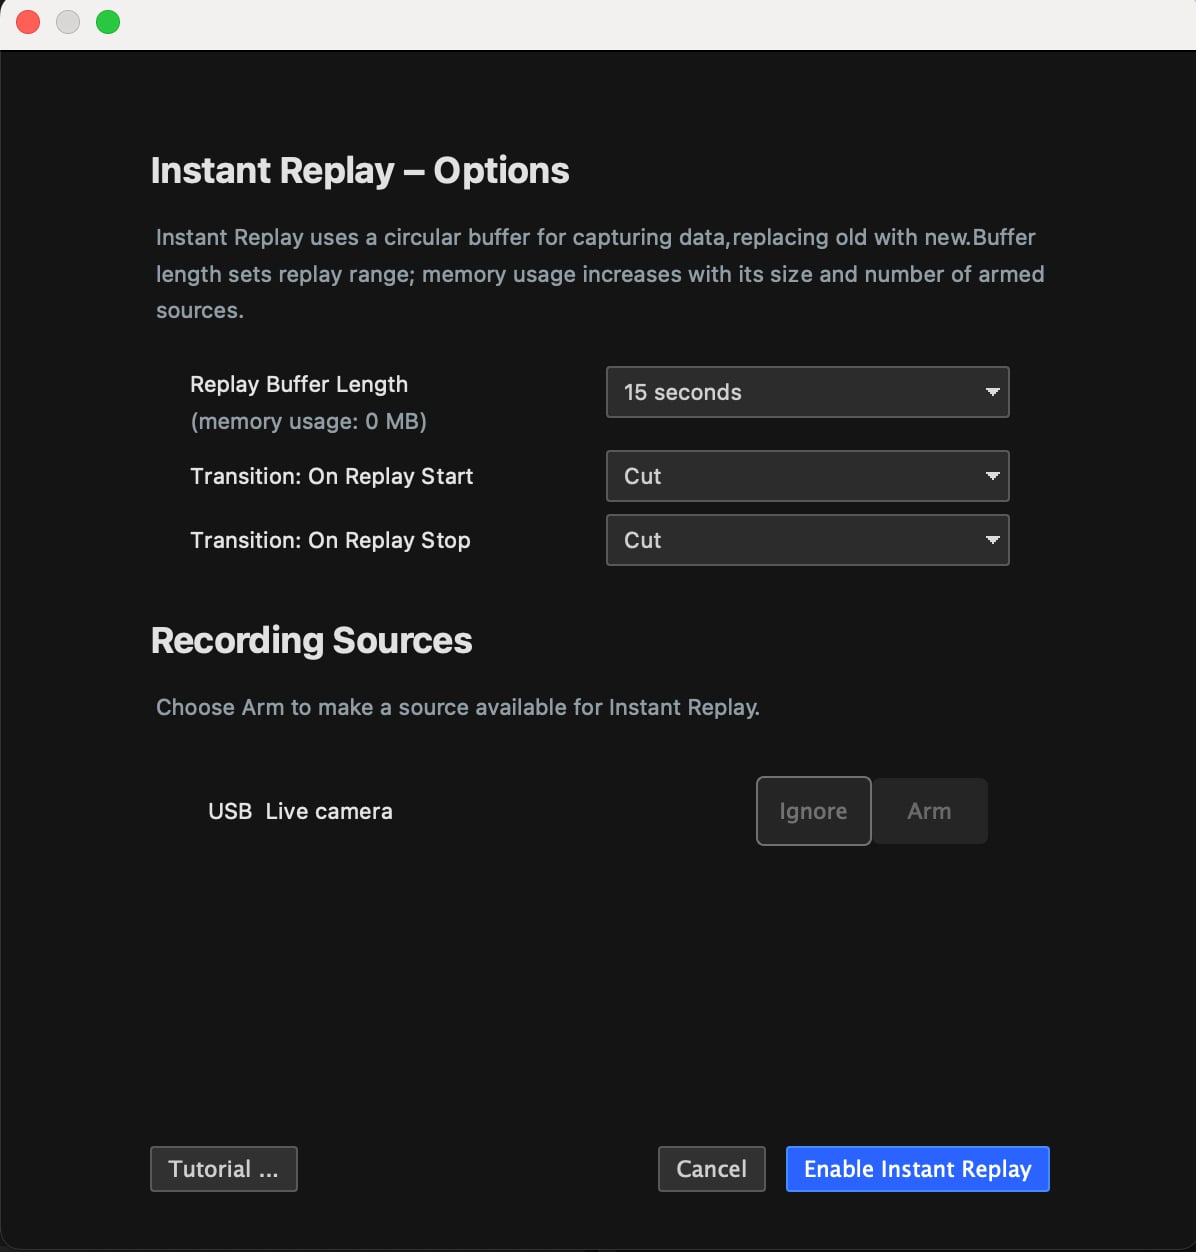
Captivate uses a circular buffer to record throughout your broadcast. Choose one of the discrete buffer lengths: 15, 30, 45, 60, or 90 seconds. Follow the steps below to set up your Instant Replay settings for broadcast.
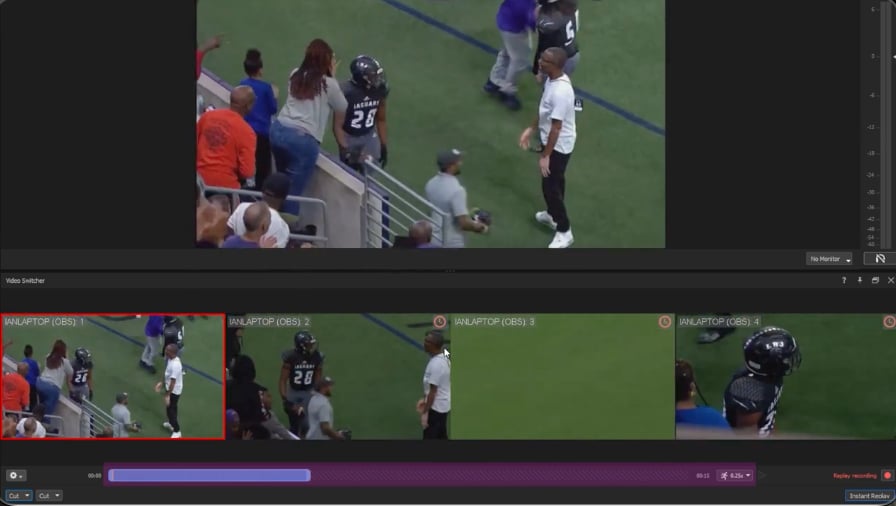
1. In the Video Switcher panel, select **Instant Replay** on the bottom right.
2. Within the Instant Replay Options Window, select your Replay Buffer Length. The memory required is dependent upon the buffer length you have selected, as well as your project frame rate and resolution.
3. Set your Stinger or Transition: **On Replay Start** and **On Replay Stop**.
4. If you are using an external switcher, check the **Don’t Use Captivate For Switching** box.
5. Under **Recording Sources**, toggle to Arm all the video feeds you plan to use for Instant Replay clips.
6. Click **Enable Instant Replay** to start the Buffer Recording.
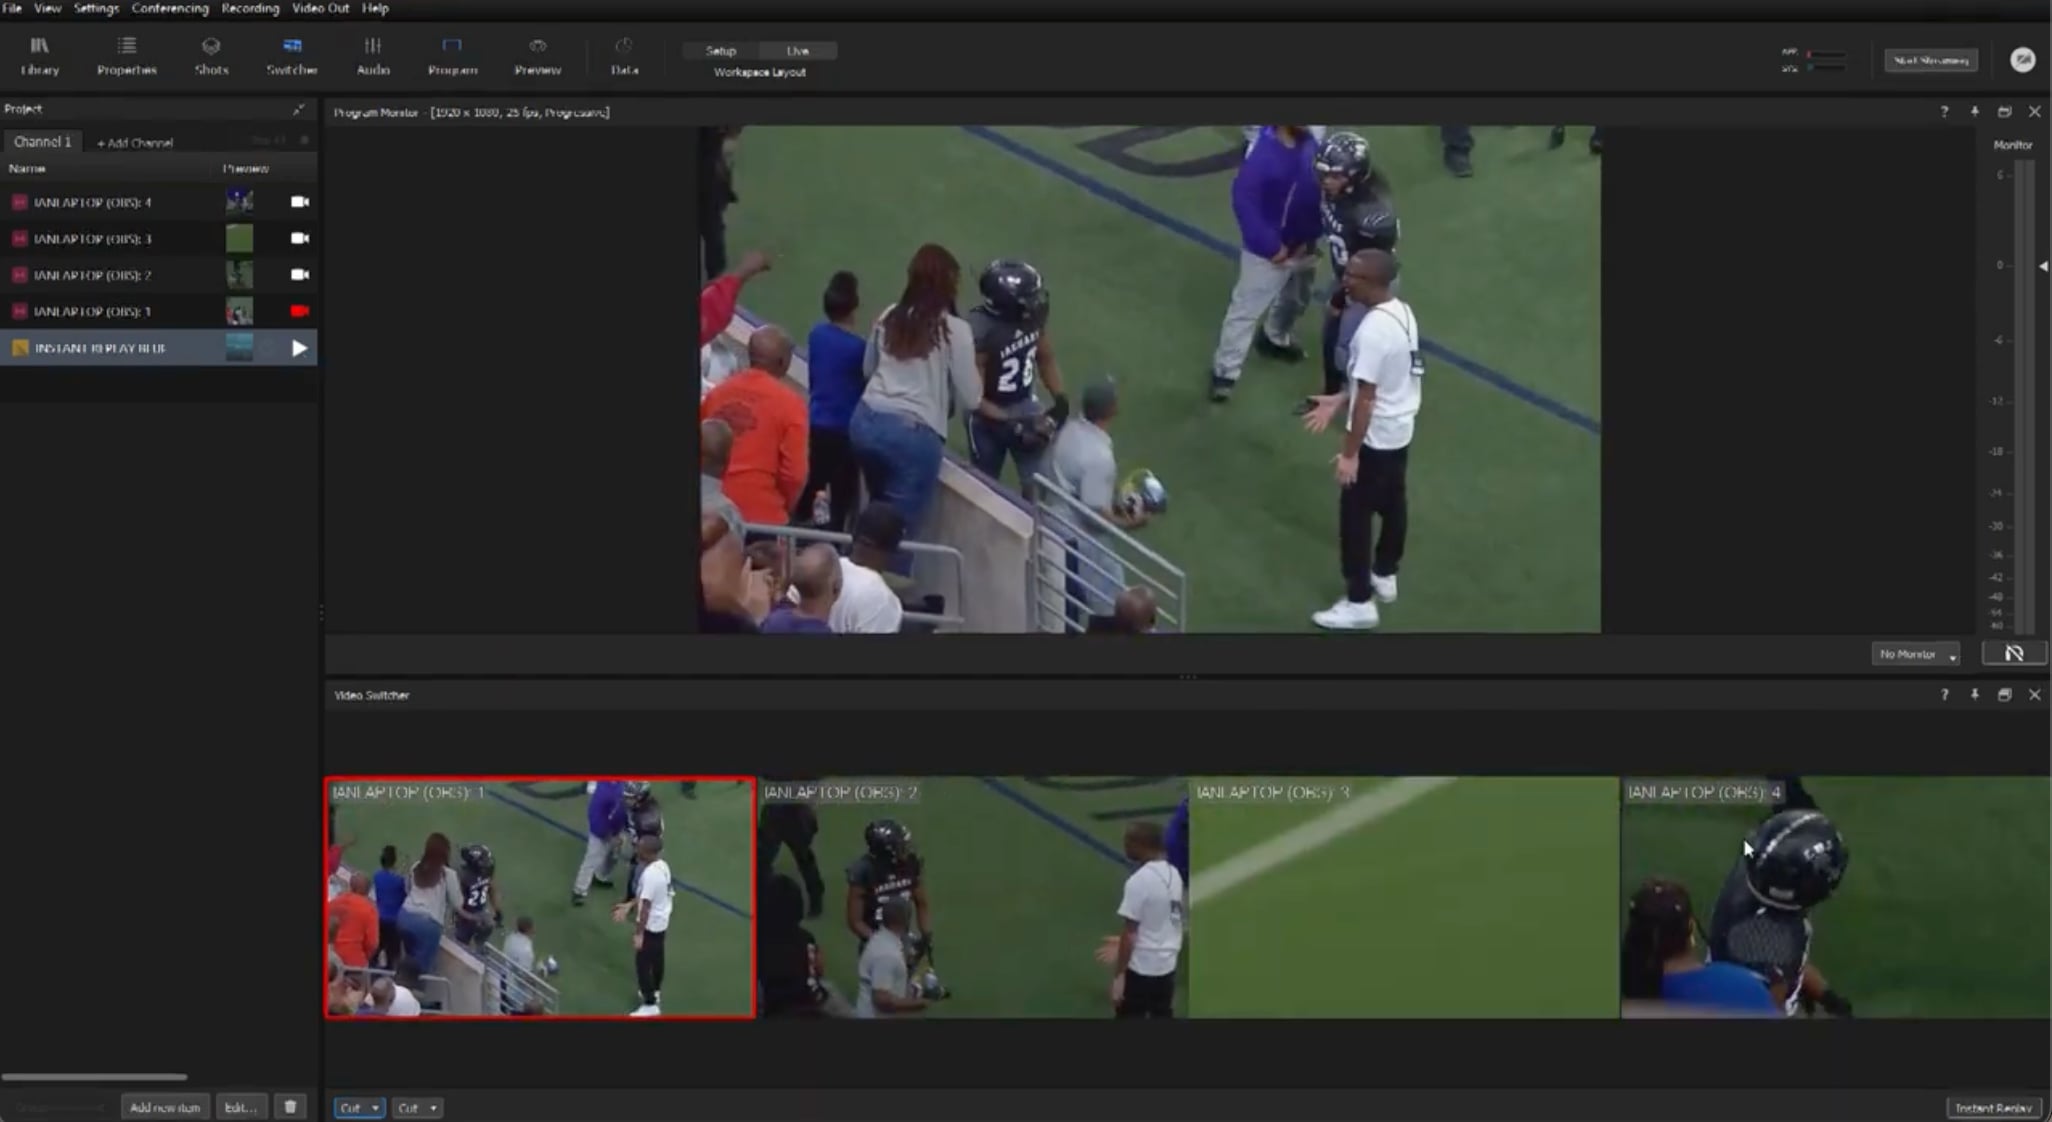
You are now in Recording Mode indicated by the red button in the lower right and you can see the buffer is running. For the operator workflow once recording has started — scrubbing, trim, speed, freeze frames, Quick Settings — see [Instant Replay during the show](/set-up-your-production/chapter-index-4/instant-replay-during-show.md).
## Resource Use Cases
Below are examples of estimated RAM usage scaled based on number of camera sources and buffer time. This RAM usage is in addition to the RAM used by Captivate itself, any other running software, and the system in general. We recommend not to have Instant Replay use more than 60–70% of the RAM available to the system. A higher percentage of RAM usage may result in potential performance or stability issues.
Project settings of 1920x1080 30p/i:
* 2 sources w/ 30s buffer — 5.6 GB
* 2 sources w/ 60s buffer — 11.2 GB
* 4 sources w/ 30s buffer — 11.2 GB
* 4 sources w/ 60s buffer — 22.4 GB
Project settings of 1920x1080 60p/i:
* 2 sources w/ 30s buffer — 11.2 GB
* 2 sources w/ 60s buffer — 22.4 GB
{% hint style="info" %}
Resource usage scales linearly regardless of the variable changed. Also, whether the project is using a progressive or interlaced frame rate is irrelevant.
{% endhint %}
For a visual reference, see the [Instant Replay tutorial](https://youtu.be/hafM3DmtqqQ?si=t1PkV87B2yymSaKJ). If you have any further questions or issues, please submit a [Support Ticket](https://newbluefx.zendesk.com/hc/en-us/requests/new).
---
# Agent Instructions
This documentation is published with GitBook. GitBook is the documentation platform designed so that both humans and AI agents can read, navigate, and reason over technical content effectively. Learn more at gitbook.com.
## Querying This Documentation
If you need additional information that is not directly available in this page, you can query the documentation dynamically by asking a question.
Perform an HTTP GET request on the current page URL with the `ask` query parameter, and the optional `goal` query parameter:
```
GET https://captivatehelp.newbluelive.com/set-up-your-production/chapter-index-4/instant-replay-configure.md?ask=&goal=
```
`ask` is the immediate question: it should be specific, self-contained, and written in natural language.
`goal` is optional and describes the broader end goal you are ultimately trying to accomplish on behalf of the user. GitBook uses it to tailor the answer towards what is most useful for that goal.
The response will contain a direct answer to the question and relevant excerpts and sources from the documentation.
Use this mechanism when the answer is not explicitly present in the current page, you need clarification or additional context, or you want to retrieve related documentation sections.