> For the complete documentation index, see [llms.txt](https://captivatehelp.newbluelive.com/llms.txt). Markdown versions of documentation pages are available by appending `.md` to page URLs; this page is available as [Markdown](https://captivatehelp.newbluelive.com/play-and-update-graphics/chapter-index-3/connect-zoom-meeting.md).
# Connect Zoom Meeting
Once your Zoom account is authenticated, this article covers the live meeting workflow: joining a meeting, choosing whether to pull participants in or push your Program out, bringing participants in as Live Audio/Video sources, and leaving cleanly.
For the one-time sign-in step, see [Authenticate your Zoom account](/play-and-update-graphics/chapter-index-3/authenticate-zoom.md). For Zoom chat as a Data Controller, see [Connect the Chat Controller in Zoom](/play-and-update-graphics/chapter-index-3/connect-the-chat-controller-in-zoom.md).
* [Join a meeting from inside Captivate](#join-a-meeting-from-inside-captivate)
* [Bring participants in as Live Audio/Video](#bring-participants-in-as-live-audiovideo)
* [Send Program Output back into Zoom](#send-program-output-back-into-zoom)
* [Leave the meeting](#leave-the-meeting)
## Join a meeting from inside Captivate
1. Have your host start the Zoom meeting from a separate system.
**❗ IMPORTANT**\
Ask the host to start the meeting with the **Camera ON**.
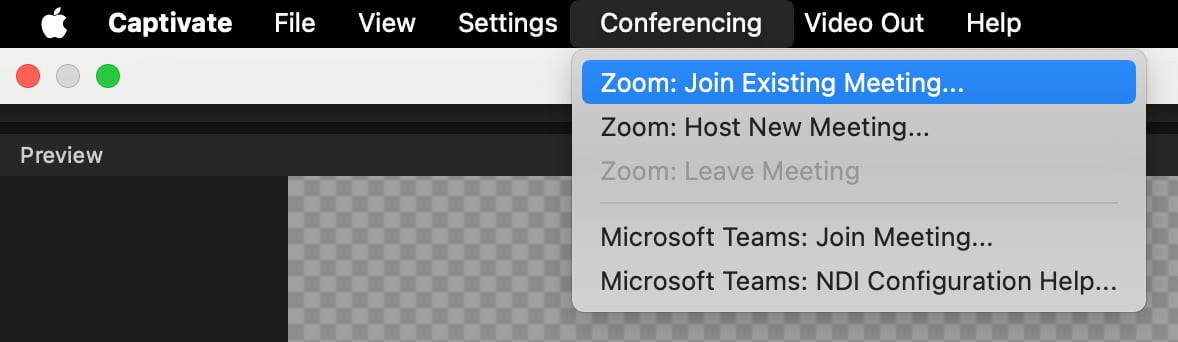
2. With your project open in Captivate, go to **Conferencing** > **Zoom: Join Existing Meeting…**.
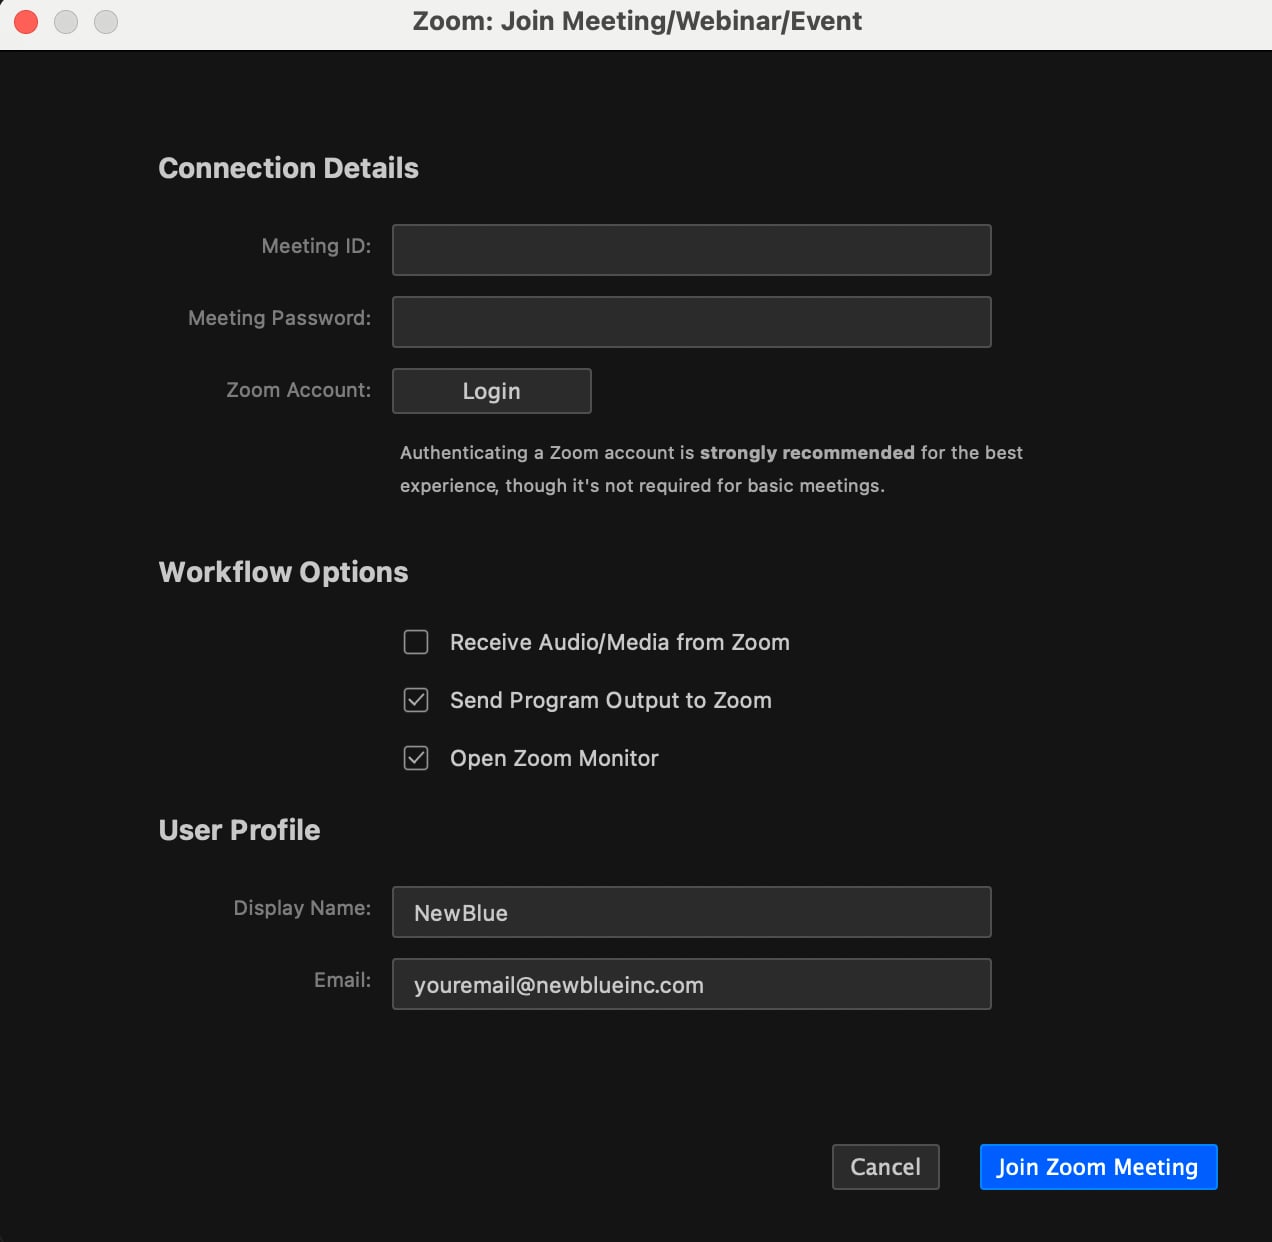
3. In the Zoom panel, enter the **Meeting ID** and (if required) the **Password**.
4. Enter your **Display Name**. This is the name participants see in the call.
**📌 NOTE**\
To sign into a Zoom account from this dialog (required for any meeting that needs Zoom authentication, or any meeting you want to host), click **Login** in the **Connection Details > Zoom Account** row. Your browser opens the OAuth flow described in [Authenticate your Zoom account](/play-and-update-graphics/chapter-index-3/authenticate-zoom.md).
5. Pick how Captivate should interact with the meeting:
* **Receive Audio/Media from Zoom** — pull participant video and audio into Captivate as Live Audio/Video sources.
* **Send Program Output to Zoom** — push Captivate’s Program (video + audio) into the meeting as a virtual camera and microphone.
**📌 NOTE**\
You cannot do both at once.
* **Open Zoom Monitor** — tick to also open the regular Zoom client window alongside Captivate. Required for Zoom Webinars; otherwise optional but often helpful for monitoring chat and host controls.
6. Click the blue **Join Zoom Meeting** button.
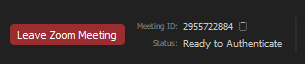
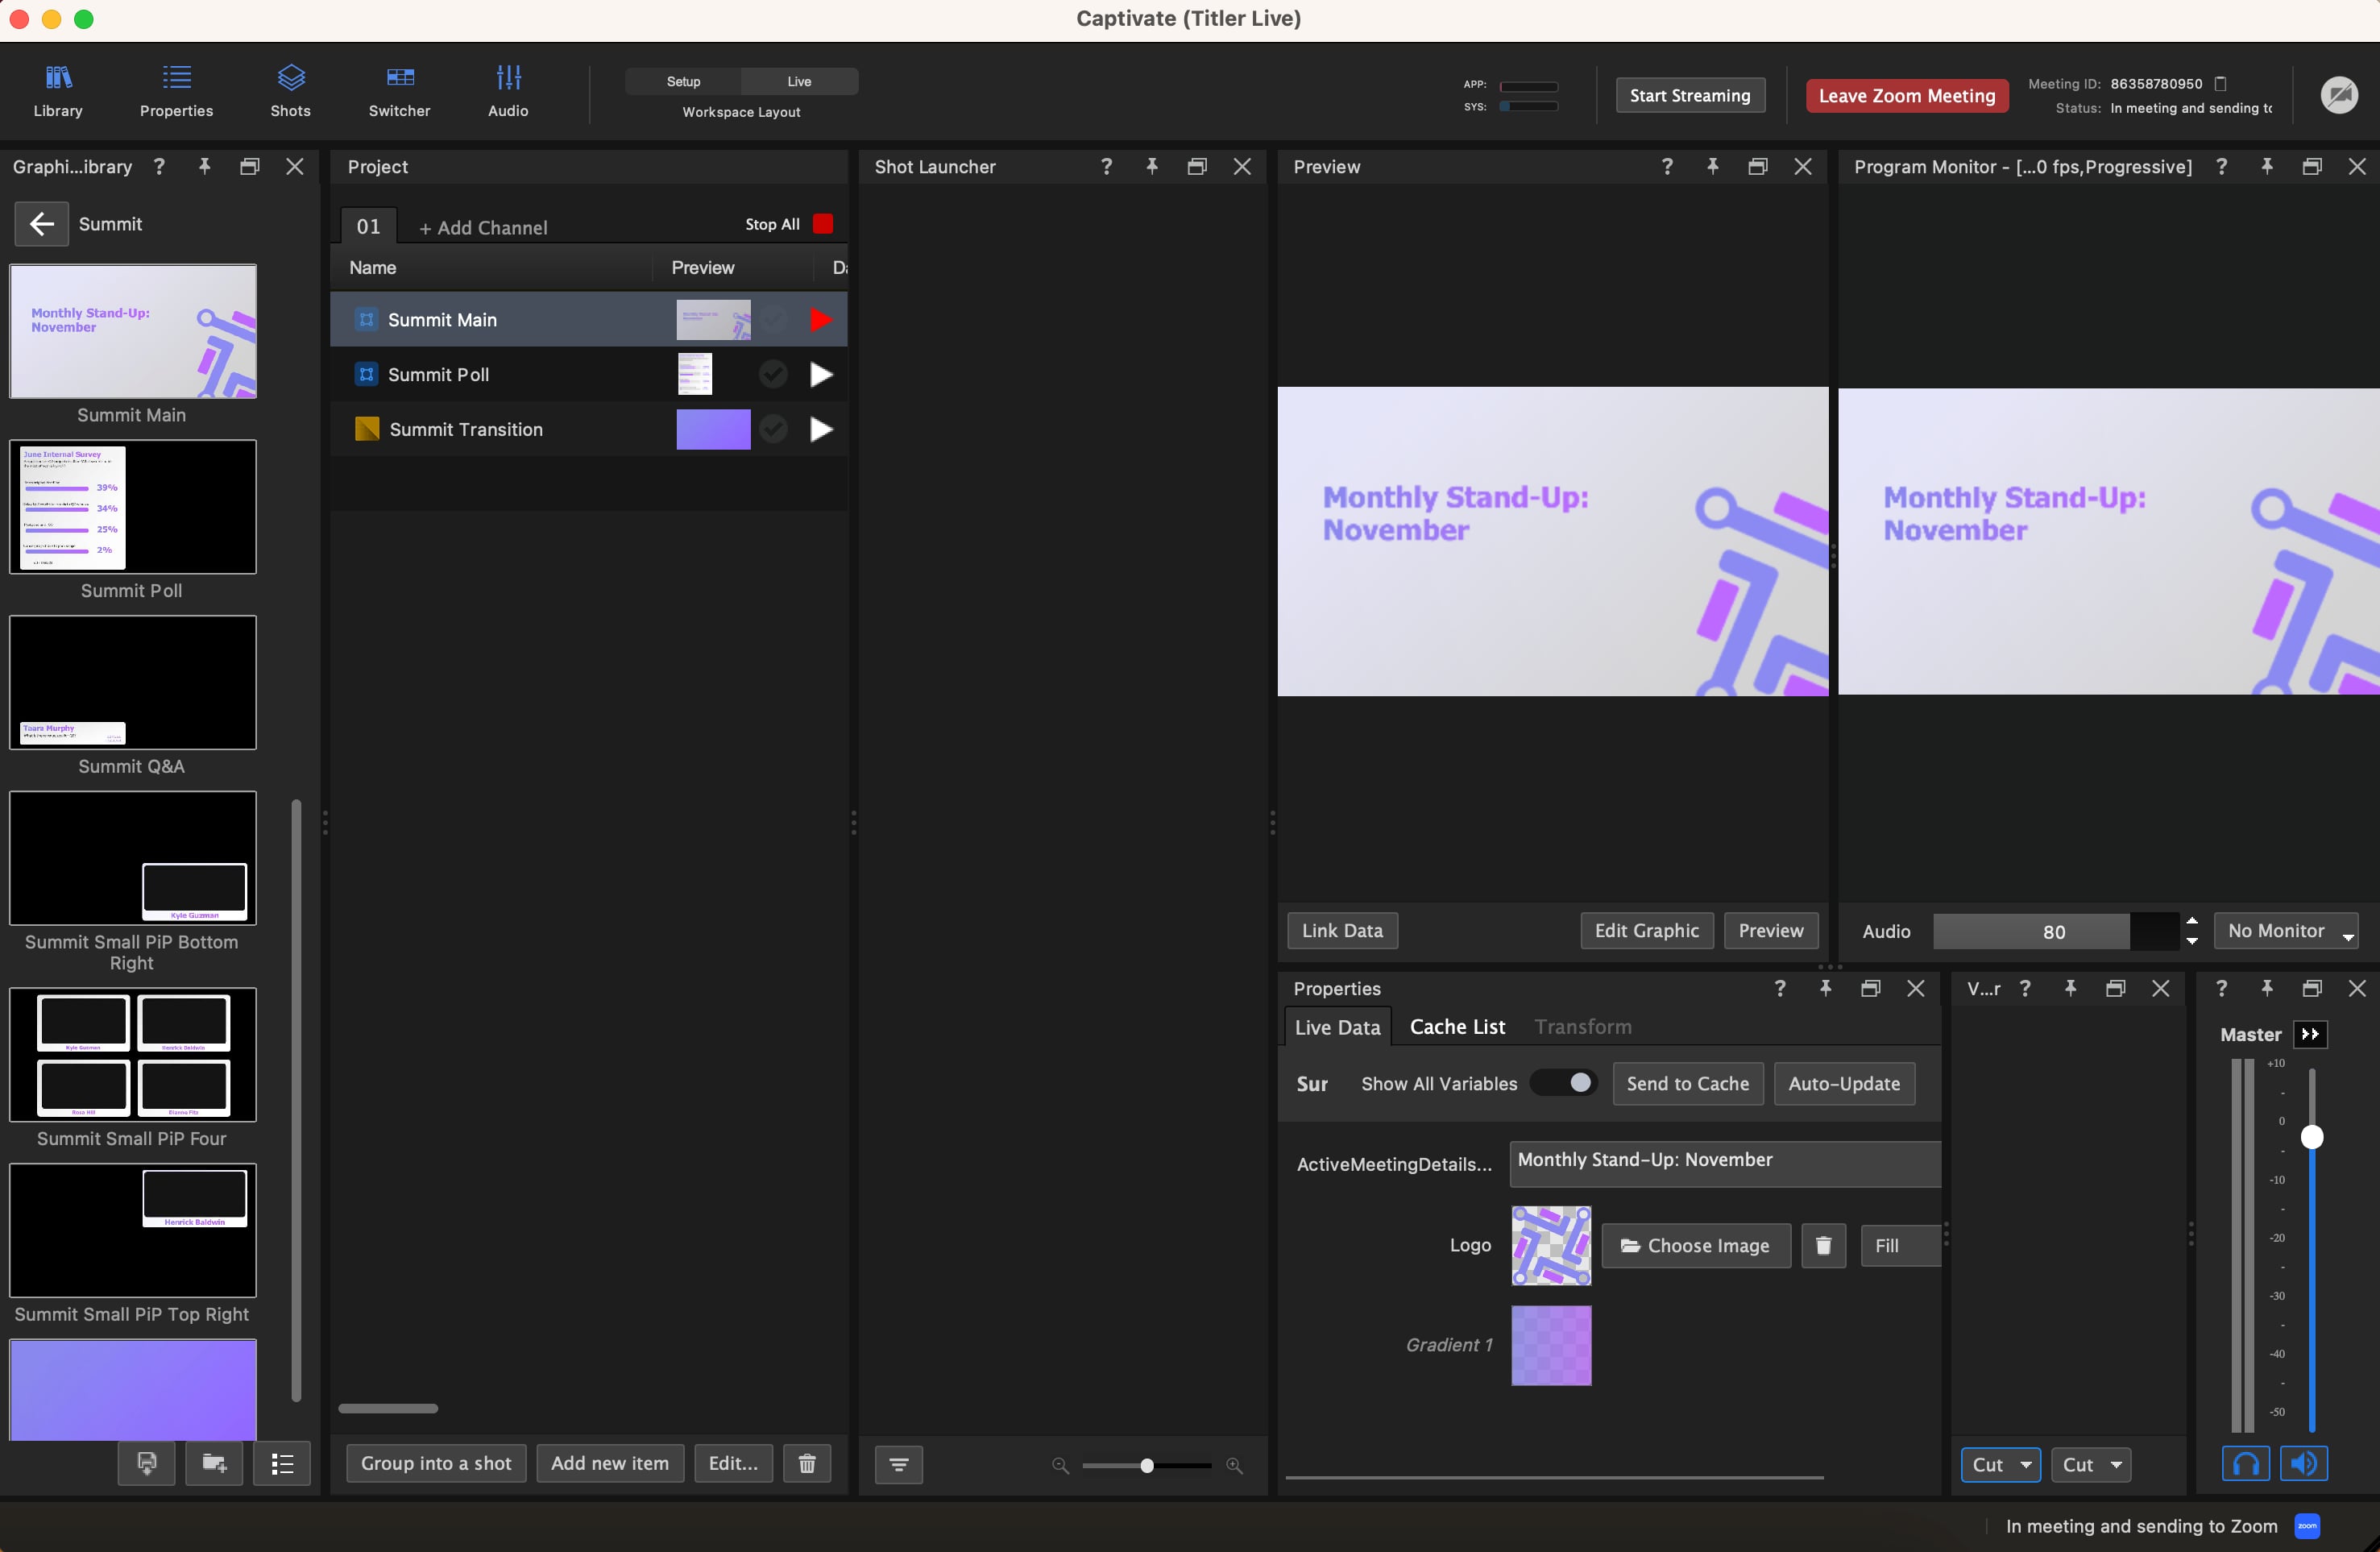
The connection state appears in the top-right of the Captivate toolbar and at the bottom-right of the Captivate window:
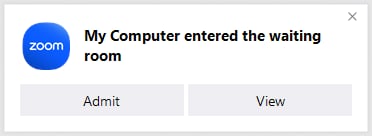
The host typically needs to **Admit** you before the meeting begins:
## Bring participants in as Live Audio/Video
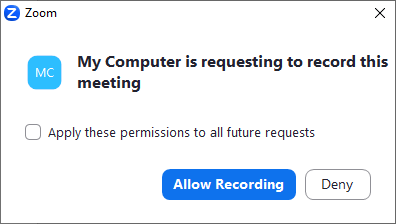
After choosing **Receive Audio/Media from Zoom**, Captivate prompts the host to allow recording. This is what authorizes Captivate to receive each participant’s individual video and audio stream — the meeting is not actually being recorded to disk.
1. Ask the host to click **Allow Recording**.
**📌 NOTE**\
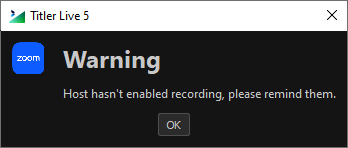
If the host doesn’t respond, a warning explains that the host hasn’t enabled recording yet.
**⚠️ WARNING**\
If the host denies recording, the meeting continues but Captivate cannot capture per-participant video and audio.
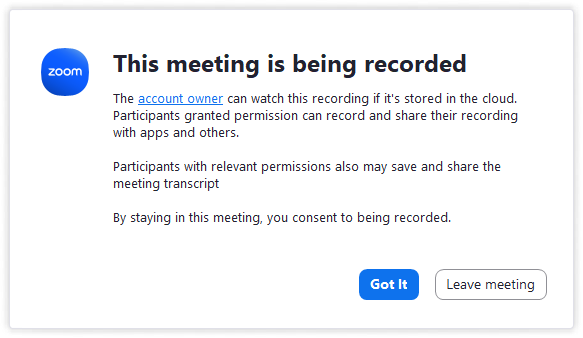
2. Once the host accepts, every participant sees a "this meeting is being recorded" notification. Again — no actual recording file is being written; this is the consent surface for Captivate to pull individual streams.
**📌 NOTE**\
In this case, the meeting is **not actually** being recorded to a file; instead it simply means that the video and audio from participants is being captured by Captivate.
3. The meeting status advances to **Connected**.
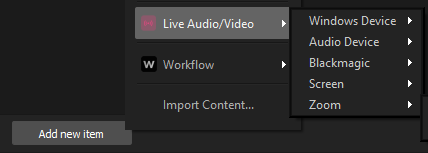
4. Add a participant as a Live Audio/Video source. At the bottom of the Project List click **Add new item** (or right-click the Project List) > **Live Audio/Video** > **Zoom** > pick a participant.
That participant’s video shows up in the Video Switcher and their audio shows up in the Audio Mixer.
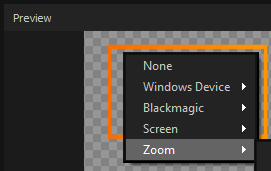
5. To use a participant inside a PiP or other in-graphic video element, select the design element in the Preview panel and right-click > **Zoom** > pick a participant.
Once participants are in, operate them like any other Live Audio/Video source. See [Use the Switcher panel](/set-up-your-production/chapter-index-4/the-switcher-panel.md).
## Send Program Output back into Zoom
If you chose **Send Program Output to Zoom** on the join dialog, Captivate appears in the meeting as a virtual camera + microphone source whose feed is Captivate’s Program Out. Anything you play on air in Captivate appears to participants as the camera feed.
You can also stream out via RTMP at the same time. See [Streaming with Captivate](/set-up-your-production/chapter-index-6/set-up-streaming.md).
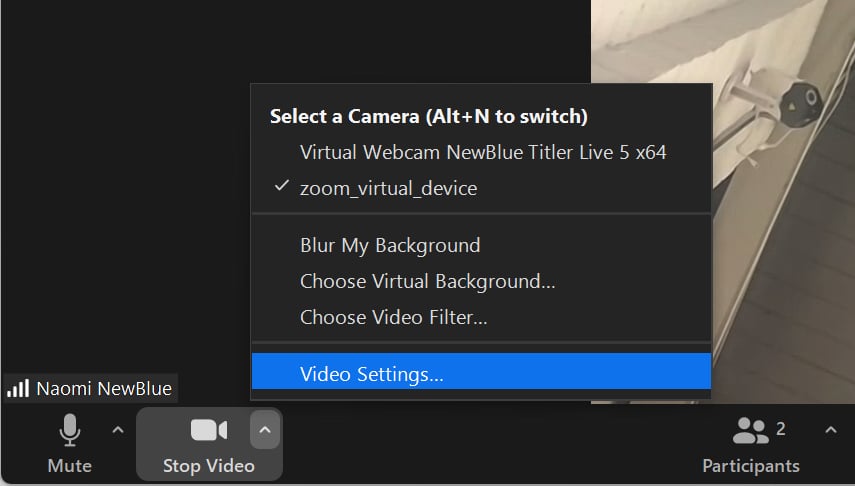
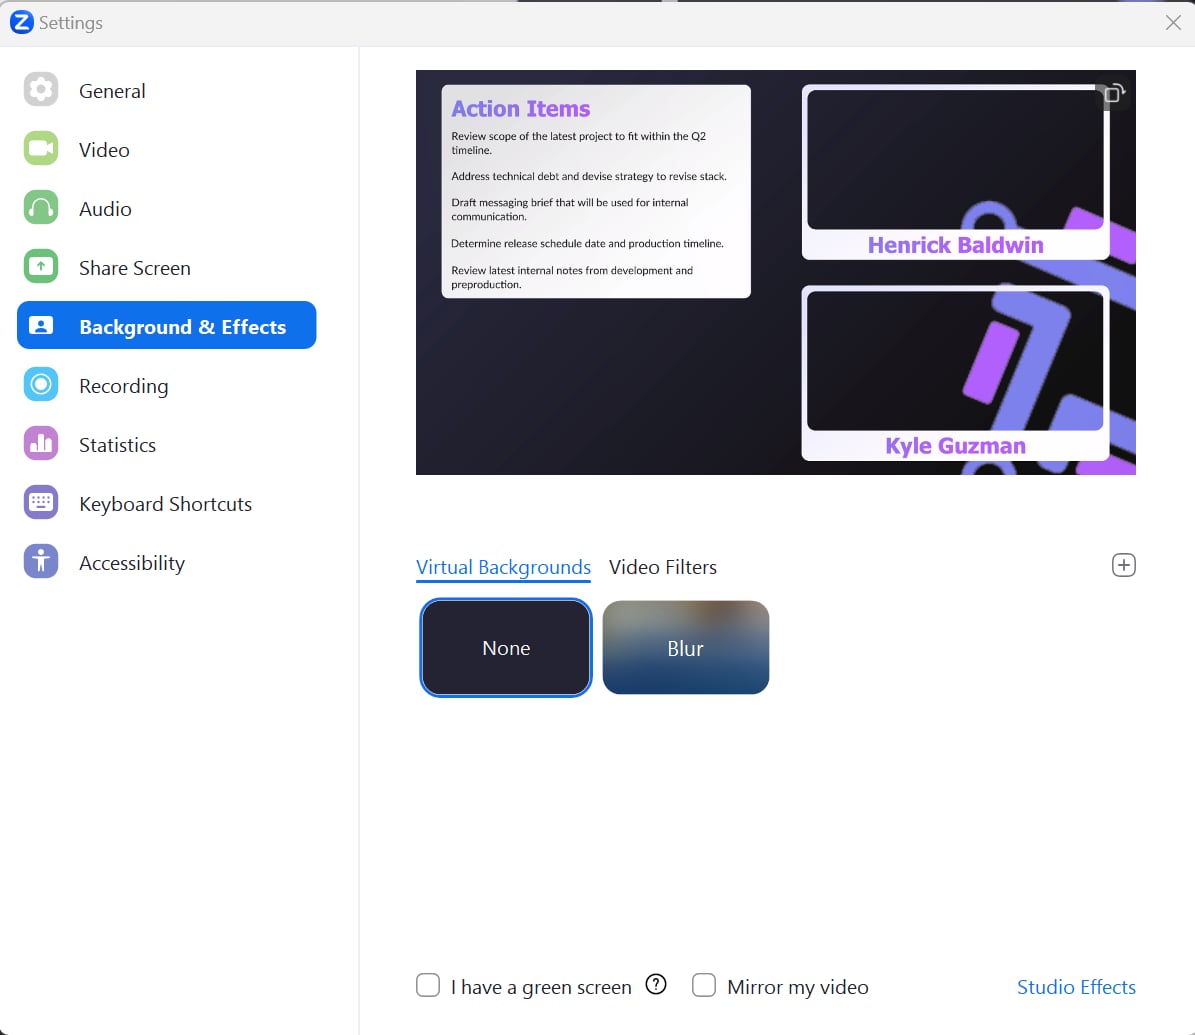
If you opened a local Zoom client at the same time (via **Open Zoom Monitor**), your graphics will appear mirrored to **you** — Zoom applies a Mirror My Video transform on the self-view by default. They appear correctly to participants. To verify what participants see, turn off the mirror in Zoom:
1. **Settings** > **Video**.
2. Go to **Advanced** > **Background & Effects** and untick **Mirror My Video**.
**💡 TIP**\
Zoom updates sometimes reset Background & Effects defaults. If audio or video stops behaving as expected mid-show, recheck the Zoom client’s Video settings.
## Leave the meeting
There are two ways to leave a Zoom meeting from Captivate:
1. Click **Leave Zoom Meeting** in the top-right of the toolbar, or go to **Conferencing** > **Zoom: Leave Meeting**.
2. The host closes the meeting. Captivate leaves automatically.
**⚠️ WARNING**\
After leaving the meeting, every Zoom Live Audio/Video source in your project shows an error. If you rejoin the same meeting, the sources reconnect automatically — no need to add them back.
**💡 TIP**\
You can save a Zoom-bound project to disk and reload it intact. You will always have to manually rejoin the meeting; the meeting state itself is not persisted in the project file.
## Related
* [Authenticate your Zoom account](/play-and-update-graphics/chapter-index-3/authenticate-zoom.md) — the one-time sign-in step.
* [Connect the Chat Controller in Zoom](/play-and-update-graphics/chapter-index-3/connect-the-chat-controller-in-zoom.md) — bring Zoom chat into a graphic.
* [Zoom Manager](/play-and-update-graphics/chapter-index-3/connect-zoom-manager.md) — the multi-meeting / multi-participant control surface.
---
# Agent Instructions
This documentation is published with GitBook. GitBook is the documentation platform designed so that both humans and AI agents can read, navigate, and reason over technical content effectively. Learn more at gitbook.com.
## Querying This Documentation
If you need additional information that is not directly available in this page, you can query the documentation dynamically by asking a question.
Perform an HTTP GET request on the current page URL with the `ask` query parameter, and the optional `goal` query parameter:
```
GET https://captivatehelp.newbluelive.com/play-and-update-graphics/chapter-index-3/connect-zoom-meeting.md?ask=&goal=
```
`ask` is the immediate question: it should be specific, self-contained, and written in natural language.
`goal` is optional and describes the broader end goal you are ultimately trying to accomplish on behalf of the user. GitBook uses it to tailor the answer towards what is most useful for that goal.
The response will contain a direct answer to the question and relevant excerpts and sources from the documentation.
Use this mechanism when the answer is not explicitly present in the current page, you need clarification or additional context, or you want to retrieve related documentation sections.