> For the complete documentation index, see [llms.txt](https://captivatehelp.newbluelive.com/llms.txt). Markdown versions of documentation pages are available by appending `.md` to page URLs; this page is available as [Markdown](https://captivatehelp.newbluelive.com/play-and-update-graphics/chapter-index-3/connect-a-custom-clock.md).
# Connect a custom clock to a graphic
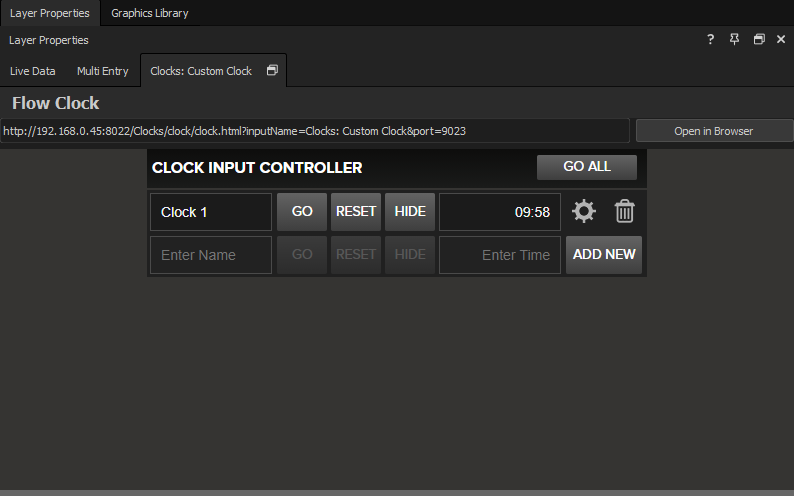
Captivate enables you to include custom clocks in your designs, which you can control from within Captivate or an Internet browser. Complete the steps in this article to connect your design to a custom clock for a sports graphic.
1. In Captivate’s playout interface, open a project (if a project isn’t already open) and select a graphic in the Project List.
**💡 TIP**\
Want to create a new graphic? Open the Graphics Library panel and drag a graphic from the library to your channel. If you create a new graphic with a clock-specific design from the library’s Inputs section, your graphic is already connected to a clock input, so go to step 3.
2. Choose **Select a Datasource** > **General** > **Clocks** > **Custom Clock** to add the Clocks input to the graphic. The Clock input appears as a tab in the **Layer Properties** panel and in the Project List.
3. Enter a name for the first custom clock in the Clocks panel.
4. Click **Settings** and complete the following in the Settings dialog:
1. Enter a **Default Time**.
2. Select a **Format**.
3. Select the **Direction** the clock will run.
4. Click **Save**.
5. Click **Reset** to update the clock based on the settings you entered.
6. To create additional clocks, click **Add New** and repeat steps 3-5.
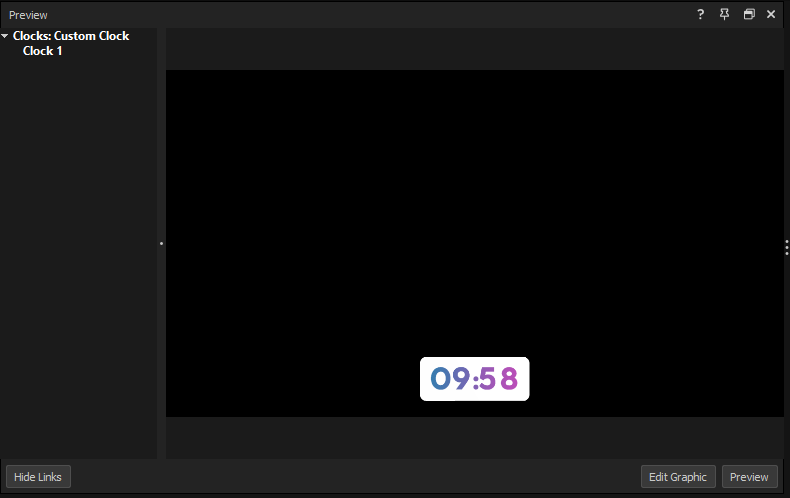
7. Click the **Link Data** button in the Edit / Preview panel to view the Clocks input and variables.
8. Click and drag a Clocks variable onto an object in your graphic. Repeat for each variable you want.
{% hint style="info" %}
**Troubleshooting:** If you are having issues, edit the graphic and select the layer you linked the clock to. Check the Variables tab and ensure **Text Variable** is checked, as well as **Pattern Variable**. Also, check that the correct variable is listed in the dropdown menus.
{% endhint %}
**💡 TIP**\
To disconnect a variable, right-click a variable in the **Preview** panel and choose **Disconnect variable**.
Your clock is now set up. You can control the clock with the buttons in the Clocks panel, or click **Open in Browser** to control it from an Internet browser.
## The other clock inputs
**Custom Clock** is one of three inputs the Clocks controller offers. The other two need no operating during a show — they read the computer’s own clock and calendar, so you connect a variable and leave them alone.
| Input | Provides | Use it for |
| ---------------- | ------------------------------------------ | ------------------------------------------------------------------ |
| **Custom Clock** | A clock you start, stop and reset yourself | Game clocks, countdowns, segment timers — anything you drive |
| **System Time** | `Time` and `Time Zone` | A clock showing the actual time of day, and the zone it belongs to |
| **Current Date** | `Date` | Today’s date on a graphic |
Connect them the same way as a custom clock: choose **Select a Datasource** > **General** > **Clocks**, pick the input, then link its variable to a text object in your design.
**💡 TIP**\
**System Time** follows the computer Captivate runs on. If you are producing a show for another region, set the graphic from a custom clock rather than system time, or make sure the machine’s own time zone is right — the **Time Zone** variable reports the machine’s zone, it does not convert to another one.
---
# Agent Instructions
This documentation is published with GitBook. GitBook is the documentation platform designed so that both humans and AI agents can read, navigate, and reason over technical content effectively. Learn more at gitbook.com.
## Querying This Documentation
If you need additional information that is not directly available in this page, you can query the documentation dynamically by asking a question.
Perform an HTTP GET request on the current page URL with the `ask` query parameter, and the optional `goal` query parameter:
```
GET https://captivatehelp.newbluelive.com/play-and-update-graphics/chapter-index-3/connect-a-custom-clock.md?ask=&goal=
```
`ask` is the immediate question: it should be specific, self-contained, and written in natural language.
`goal` is optional and describes the broader end goal you are ultimately trying to accomplish on behalf of the user. GitBook uses it to tailor the answer towards what is most useful for that goal.
The response will contain a direct answer to the question and relevant excerpts and sources from the documentation.
Use this mechanism when the answer is not explicitly present in the current page, you need clarification or additional context, or you want to retrieve related documentation sections.