> For the complete documentation index, see [llms.txt](https://captivatehelp.newbluelive.com/llms.txt). Markdown versions of documentation pages are available by appending `.md` to page URLs; this page is available as [Markdown](https://captivatehelp.newbluelive.com/get-started/chapter-index-2/the-playout-interface.md).
# Tour the Captivate interface
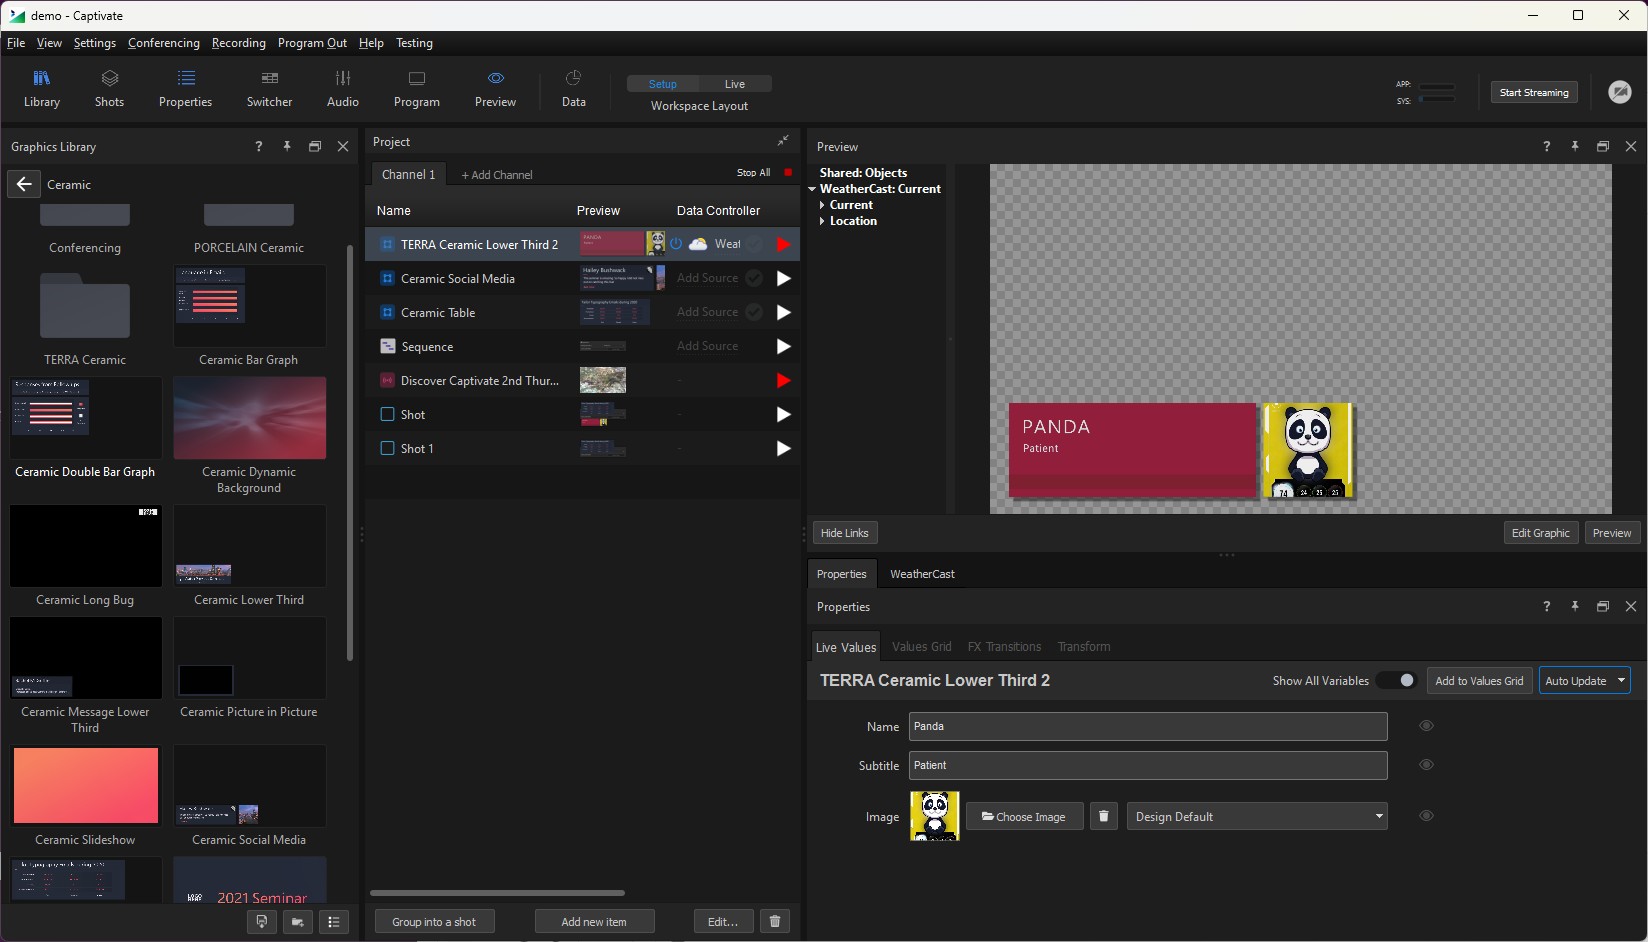
A quick orientation to the Captivate panels, in the order you’ll meet them: build the show in the Project List, find designs in the Library, check them in Preview, watch the output in the Program Monitor, and fine-tune in Properties. At the end, the two workspace layouts — **Setup** and **Live** — that arrange these panels for building and for show time.
* [Top bar](#top-bar)
* [The main panels](#the-main-panels)
* [Panels for show time](#panels-for-show-time)
* [Two workspace layouts](#two-workspace-layouts)
## Top bar
The top bar gives you panel visibility controls, the Setup / Live workspace layout toggle, system status indicators, streaming controls, and the video panic button. For what each indicator means and how the streaming and panic controls behave, see [Top-bar status indicators](/get-started/chapter-index-2/top-bar-status-meaning.md).
## The main panels
### Project List
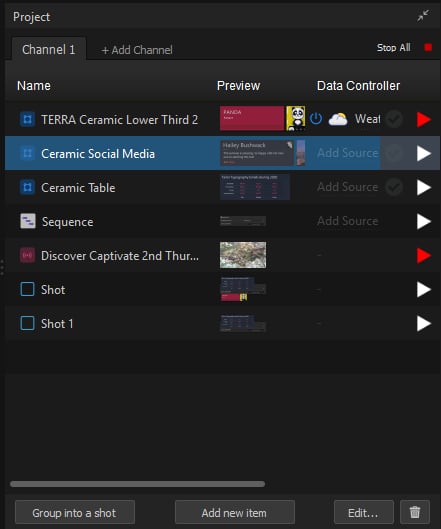
The Project List is the heart of your production. Add and arrange the items that make up the show — graphics, media files, live video sources — connect data, and play them from here. See [Project List panel](/get-started/chapter-index-2/project-list-panel-and-channel-management.md).
### Library panel
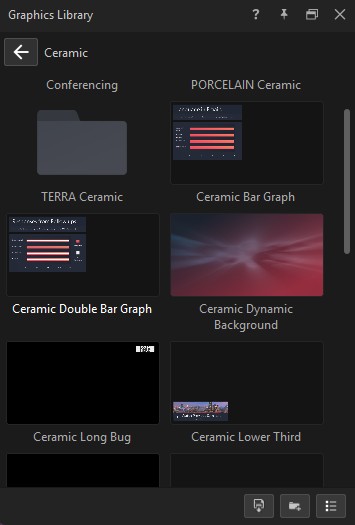
The Library panel is where you start: it holds every title design template installed with Captivate, plus add-on collections and your own custom designs. Drag a design into the Project List to add it as a layer. See [Library panel](/get-started/chapter-index-2/library-panel.md).
### Preview panel
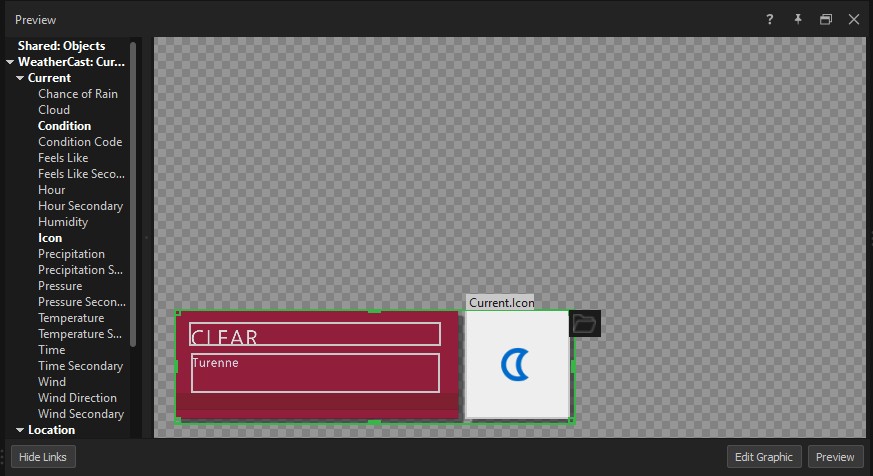
The Preview panel shows the selected item before it goes to Program. Check a graphic, edit visible values, replace images, link data, and preview animation — without putting anything on air. See [Preview panel](/get-started/chapter-index-2/preview-panel.md).
### Program Monitor
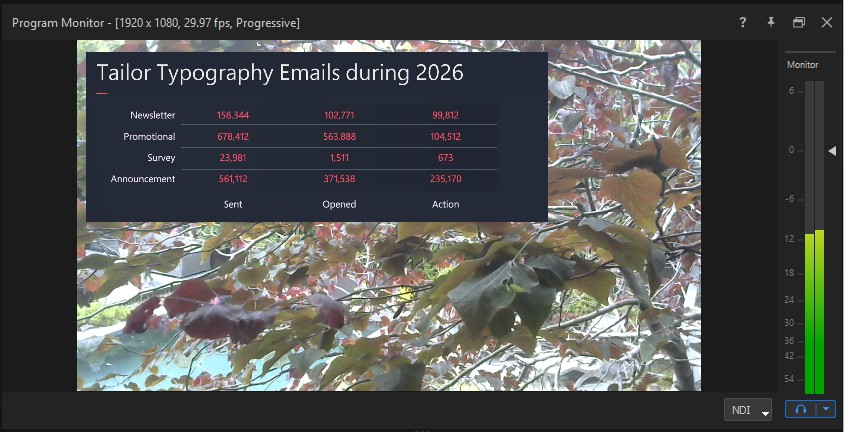
The Program Monitor shows what Captivate is sending to Program — one channel or several. Use it to confirm the live output, choose a Program Out destination, and monitor audio. See [Program Monitor panel](/get-started/chapter-index-2/program-monitor-panel.md).
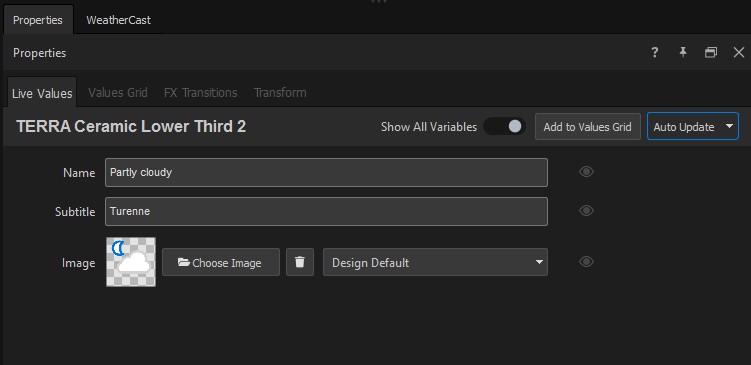
### Properties panel
The Properties panel shows settings for the selected Project List item. The available tabs change depending on what you select. See [Properties panel](/get-started/chapter-index-2/properties-panel.md).
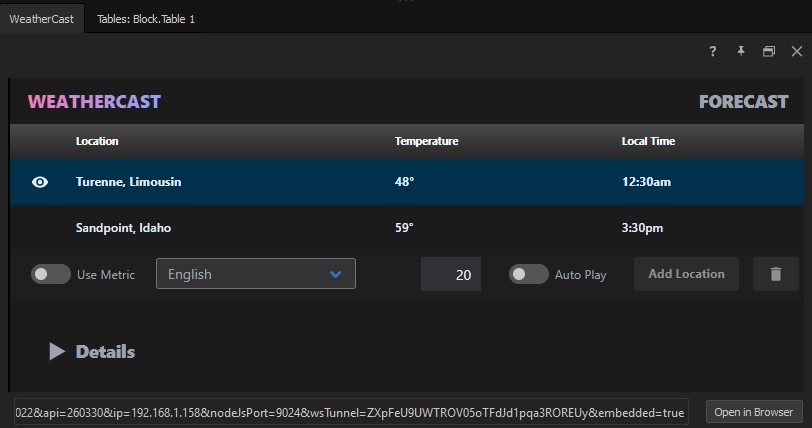
### Data Controllers
Data Controllers bring live data into a project — scoreboards, weather feeds, spreadsheets, presentation software, Zoom meetings. Open the Data panel to configure a controller, then link its values to graphic variables. See [Data Controller catalog](/play-and-update-graphics/chapter-index-3.md) and [How Data Controllers work](/play-and-update-graphics/chapter-index-3/how-data-controllers-work.md).
## Panels for show time
Three more panels appear when you operate the show:
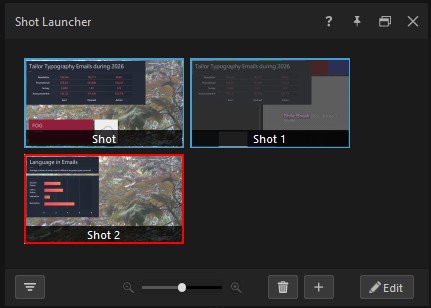
### Shot Launcher
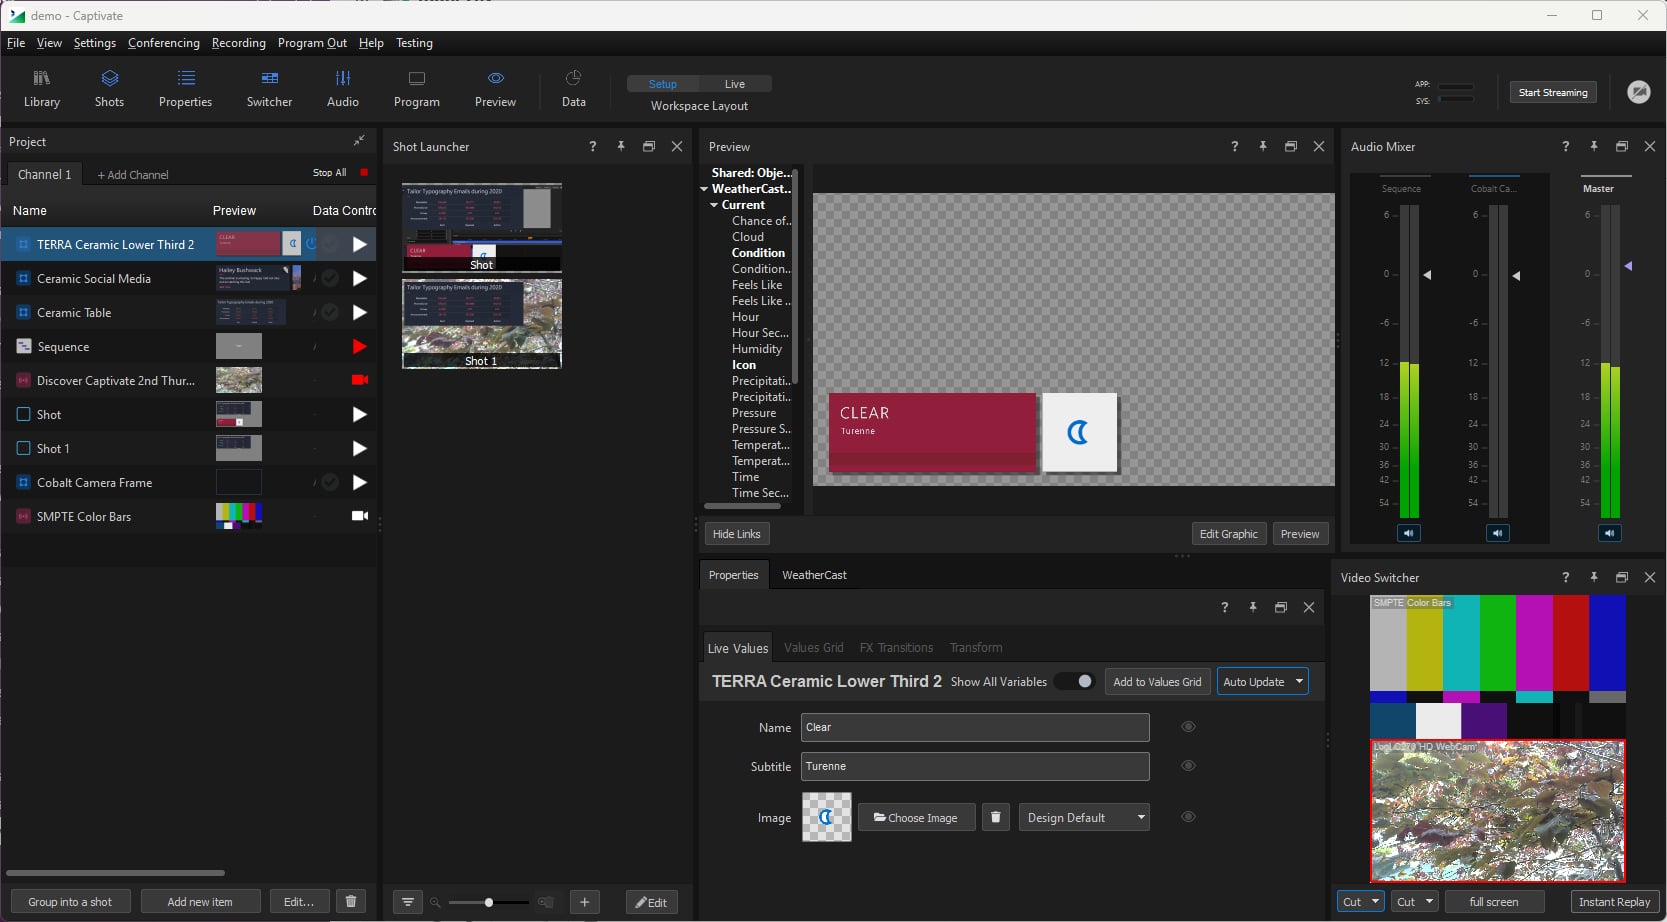
The Shot Launcher fires Shots — single-button takes that drive multiple graphics at once. See [Create Shot Layouts](/control-your-show/chapter-index-1/creating-shot-layouts.md).
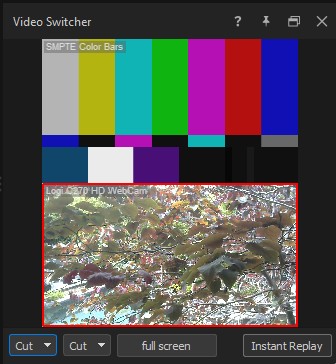
### Video Switcher
The Video Switcher groups every live source and lets you cut between them. See [Use the Switcher panel](/set-up-your-production/chapter-index-4/the-switcher-panel.md).
### Audio Mixer
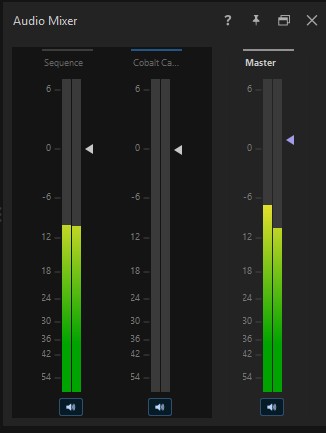
The Audio Mixer shows every live audio source with its own fader and mute, plus a Master fader for the overall send. See [Audio Mixer panel](/set-up-your-production/chapter-index-5/the-audio-mixer.md).
## Two workspace layouts
Captivate arranges these panels into two workspace layouts. Switch between them with the **Setup** / **Live** buttons on the top bar.
**Setup** is for building and configuring a show — the Library, Project List, Preview, and Properties panels are front and center.
**Live** is for operating the show — the Library gives way to the show-time panels: Shot Launcher, Video Switcher, Audio Mixer, and Program Monitor.
You can rearrange either layout and save your own version — see [Customize Captivate’s layout](/get-started/chapter-index-2/customize-your-layout.md).
## Next step
* [Project List panel](/get-started/chapter-index-2/project-list-panel-and-channel-management.md) — the heart of your production.
* [Control your show](/control-your-show/branch-index.md) — drive the show in Live.
---
# Agent Instructions
This documentation is published with GitBook. GitBook is the documentation platform designed so that both humans and AI agents can read, navigate, and reason over technical content effectively. Learn more at gitbook.com.
## Querying This Documentation
If you need additional information that is not directly available in this page, you can query the documentation dynamically by asking a question.
Perform an HTTP GET request on the current page URL with the `ask` query parameter, and the optional `goal` query parameter:
```
GET https://captivatehelp.newbluelive.com/get-started/chapter-index-2/the-playout-interface.md?ask=&goal=
```
`ask` is the immediate question: it should be specific, self-contained, and written in natural language.
`goal` is optional and describes the broader end goal you are ultimately trying to accomplish on behalf of the user. GitBook uses it to tailor the answer towards what is most useful for that goal.
The response will contain a direct answer to the question and relevant excerpts and sources from the documentation.
Use this mechanism when the answer is not explicitly present in the current page, you need clarification or additional context, or you want to retrieve related documentation sections.