> For the complete documentation index, see [llms.txt](https://captivatehelp.newbluelive.com/llms.txt). Markdown versions of documentation pages are available by appending `.md` to page URLs; this page is available as [Markdown](https://captivatehelp.newbluelive.com/design-and-customize-graphics/chapter-index-6/importing-your-after-effects-design.md).
# Import an After Effects design
> *Availability — included in Broadcast and Enterprise. Available for Sport as the After Effects Import add-on.*
Importing After Effects MOGRTs and compositions into your project lets you tap into your existing motion graphics and the know-how from creating them with After Effects, making content development a breeze.
This feature is only available in Captivate Broadcast.
## Topics included
* [Importing Your After Effects Design into Captivate](#import-an-after-effects-design-into-captivate)
* [Resolving AE Connection Issues](#resolving-ae-connection-issues)
* [Use the Transform tab](#use-the-transform-tab)
* [Use the Show All Variables toggle](#use-the-show-all-variables-toggle)
* [Update MOGRT properties in the Live Values tab](#update-mogrt-properties-in-the-live-values-tab)
{% hint style="info" %}
After Effects opens as a background application — that is the editing tool for the composition. Once you save changes to the `.aep` and Captivate detects the source file has changed, Captivate prompts you to **Refresh** the imported title so the new render takes effect. Live-during-show edits are not supported; expect a refresh prompt between rounds of edits.
{% endhint %}
## Import an After Effects design into Captivate
We have streamlined your workflow to import both `.aep` or `.mogrt` files directly into Captivate. Use the **Live Values** and **Transform** tabs in the Properties panel to make any adjustments needed to fit your broadcast. The header of the **Live Values** tab shows the current update mode — in **Auto Update**, committed edits update the on-air title immediately; in **Manually Update**, Captivate holds your edits until you send them with the update buttons, without or with the update animation.
{% hint style="info" %}
By default, your composition’s resolution will be scaled to your Captivate project settings. The frame-rate will be modified to match the output settings.
{% endhint %}
**❗ IMPORTANT**\
Before importing, please save your AEP and MOGRT compositions in the same folder as your Captivate project if you would like to re-open the project without having to re-import the files again.
1. Open your project in Captivate.
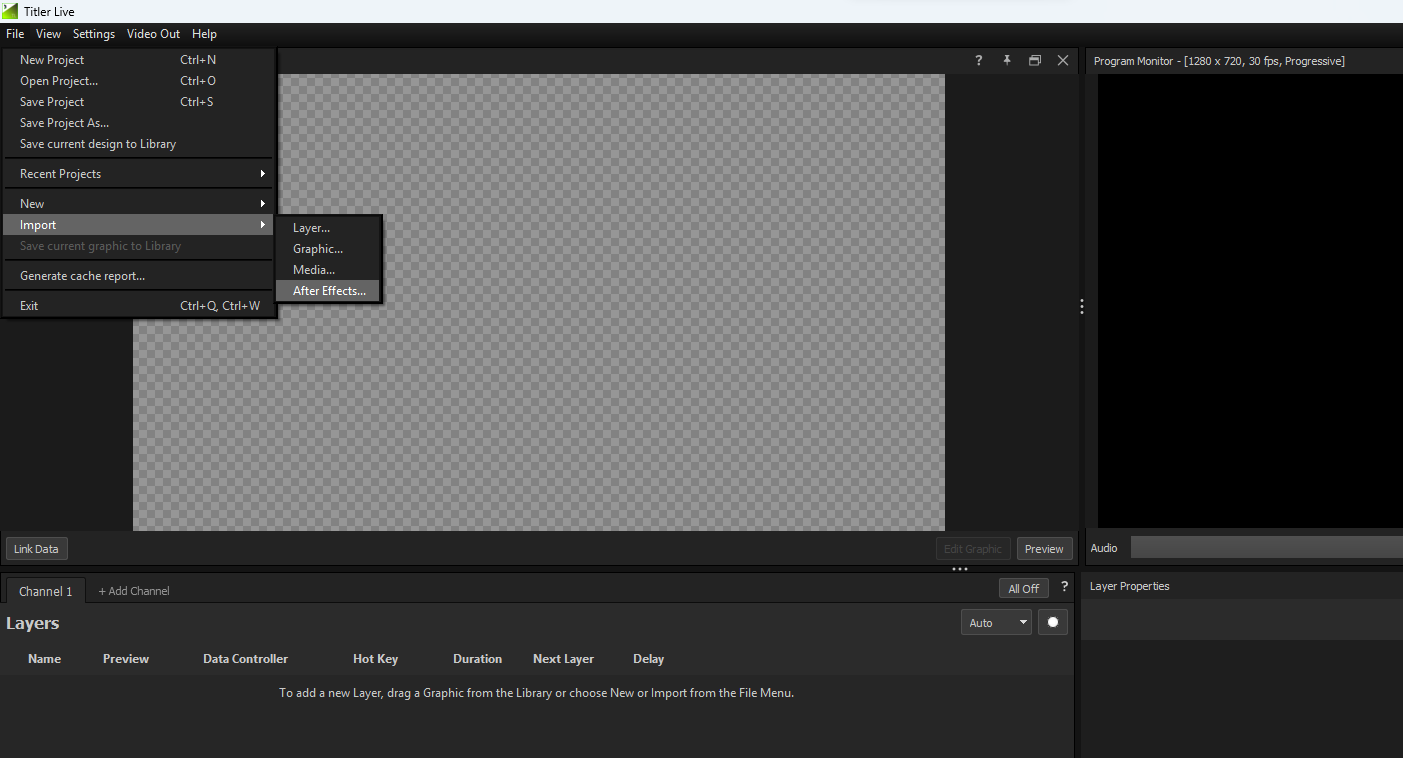
2. Go to **File** > **Import** > **After Effects**
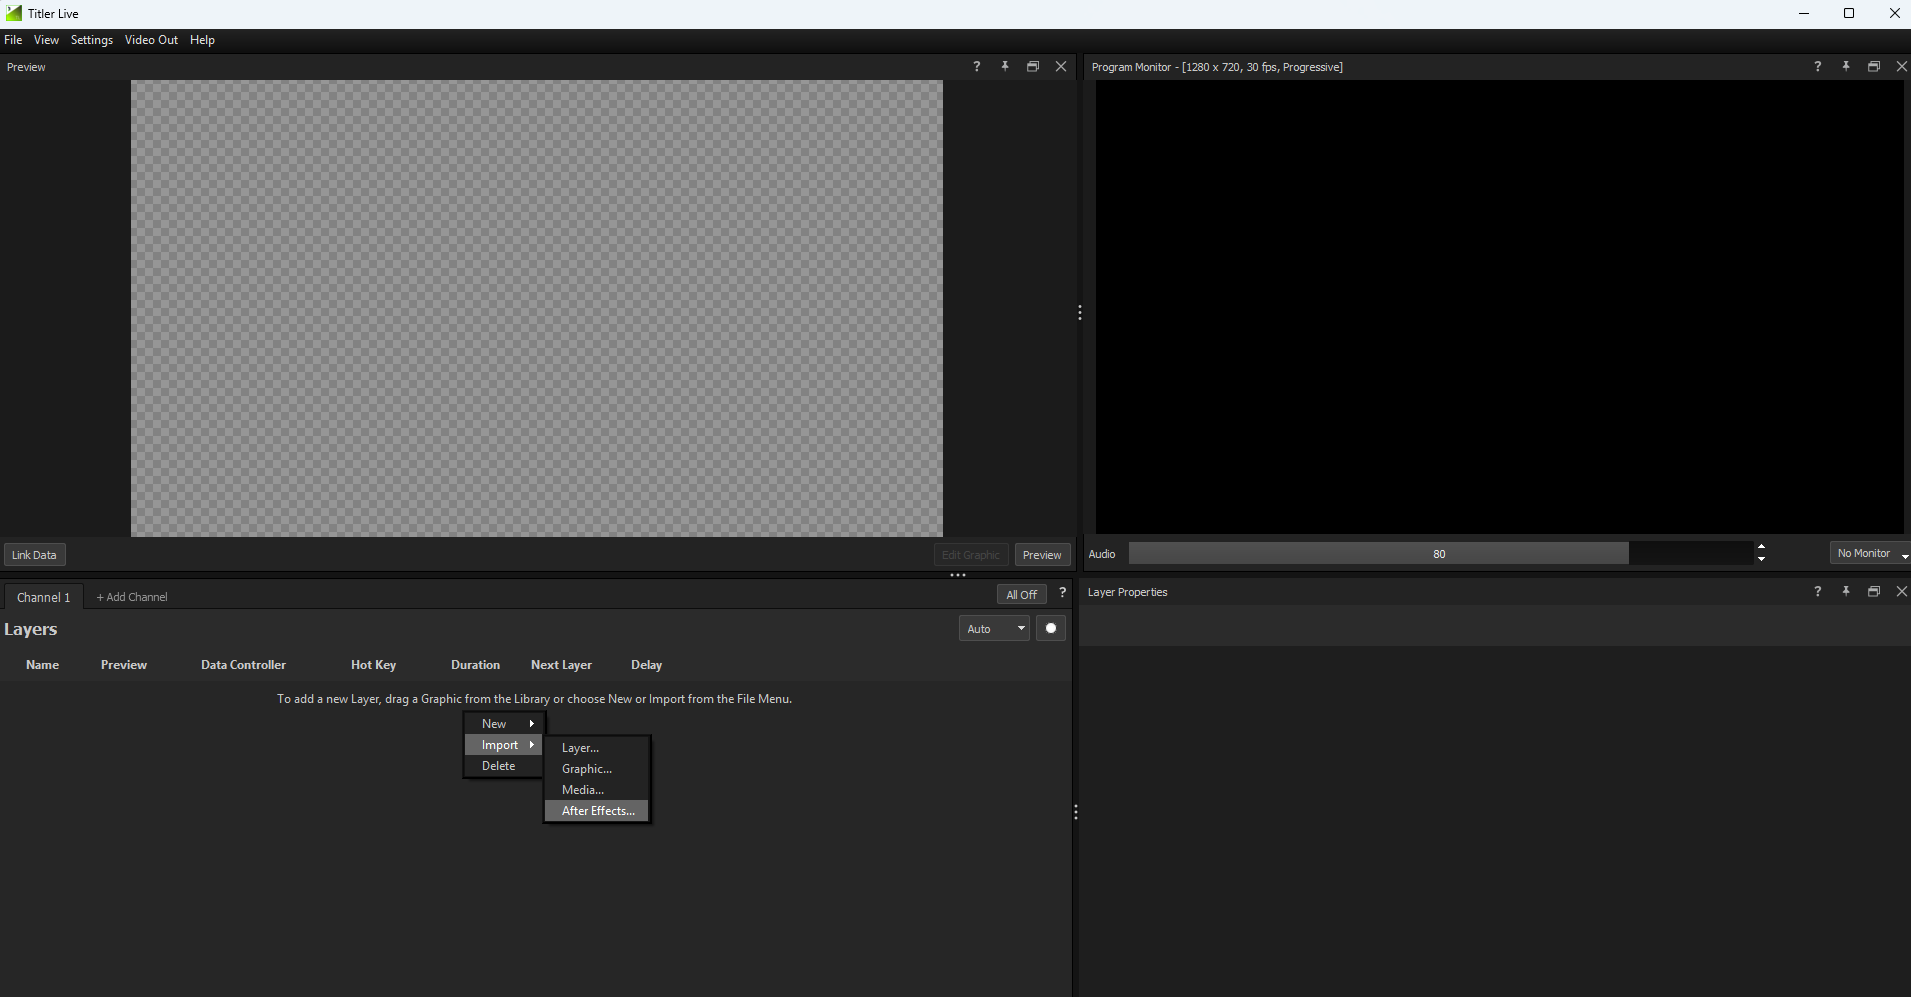
or right-click in the Layers panel > **Import** > **After Effects**.
You can also drag a `.mogrt` or `.aep` file from your file browser straight into the Project List — it imports the same way. (Media sequences don’t accept After Effects files; drop them into the Project List itself.)
3. If your After Effects project contains multiple compositions, you will be prompted to select which composition you wish to import as an AE graphics layer.
{% hint style="info" %}
Since your MOGRT may have nested comps within it, you will need to choose the specific composition associated as well.
{% endhint %}
## Resolving AE Connection Issues
To support AE workflows, we orchestrate a running instance of After Effects on your machine.
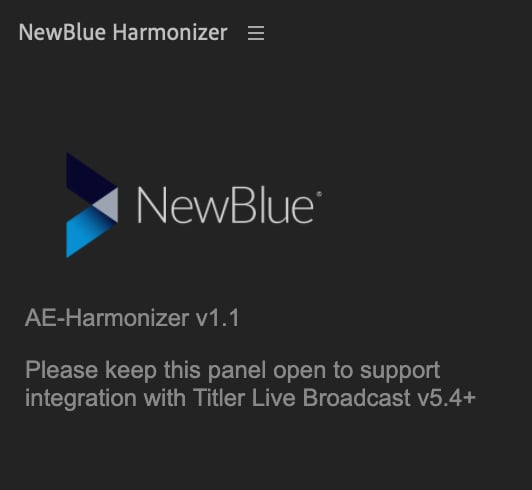
We establish a communication channel with an **Extension** Panel — **New Blue Harmonizer** — running inside of After Effects to make this happen.
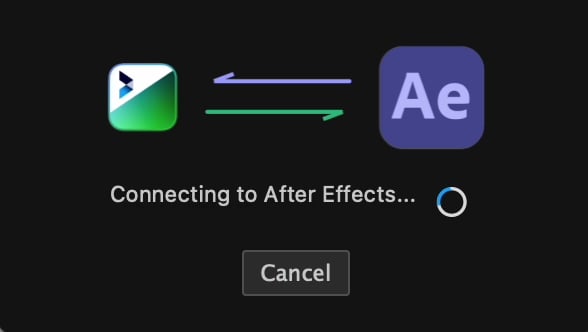
If we can’t make a connection immediately, the following dialog will appear. It makes several attempts to make a connection before giving up.
**💡 TIP**\
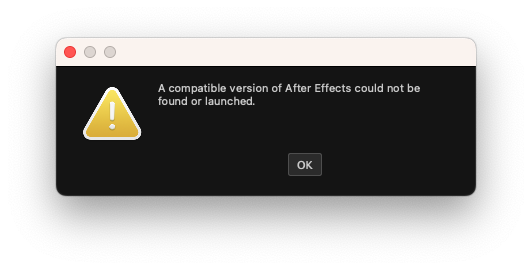
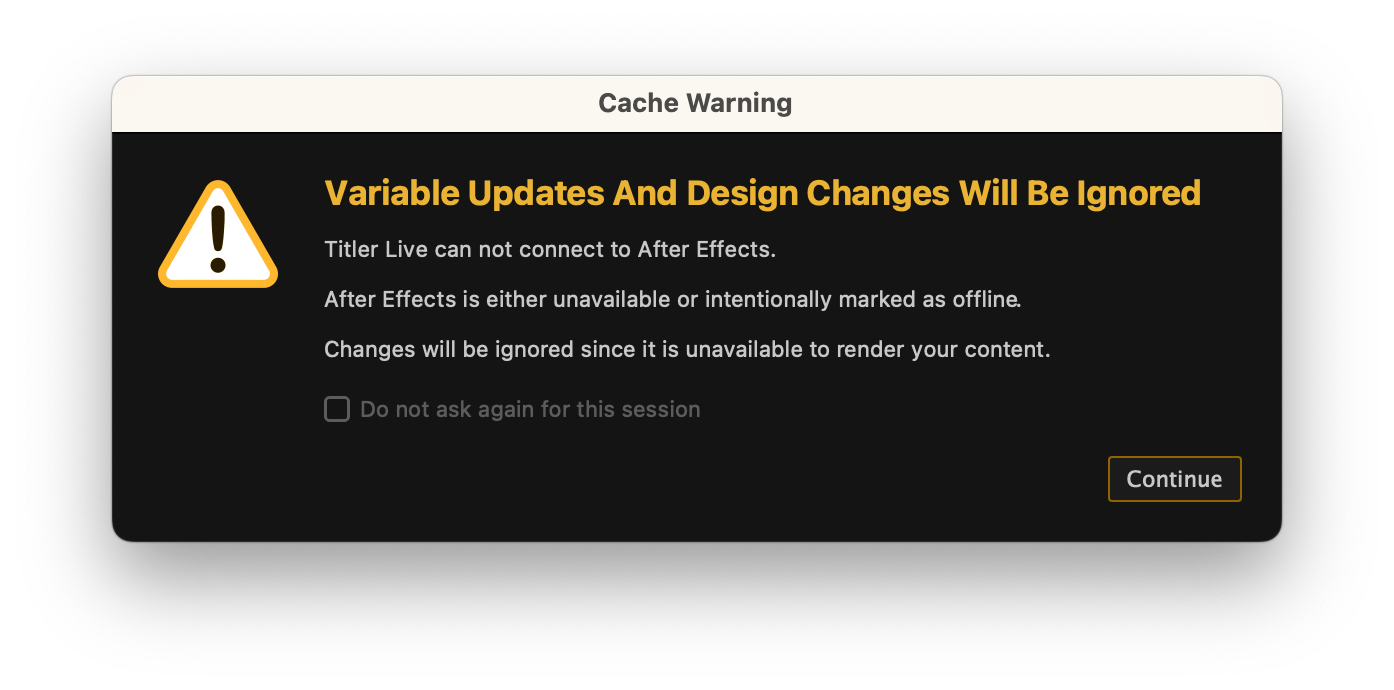
If After Effects opens, but your project does not load automatically, and/or you receive error messages such as these:
If we can’t connect to AE, it’s likely because the extension panel isn’t running.
### Manually starting the New Blue Harmonizer Panel
We tell After Effects to automatically load our extension. Unfortunately, if it wasn’t previously *docked* it will unload after it loads. This bug was introduced by a recent version of After Effects.
To fix the connectivity issue:
1. Manually open the project in After Effects.
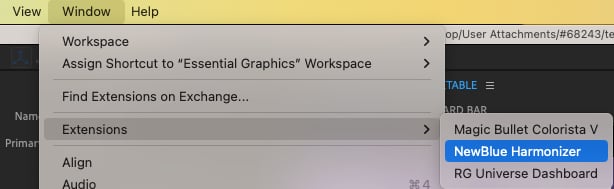
2. Select **Window** > **Extensions** > **New Blue Harmonizer**.
3. Dock the floating New Blue Harmonizer window to AE’s main window or minimize the panel, but please make sure it stays open to ensure successful import and operation within Captivate.
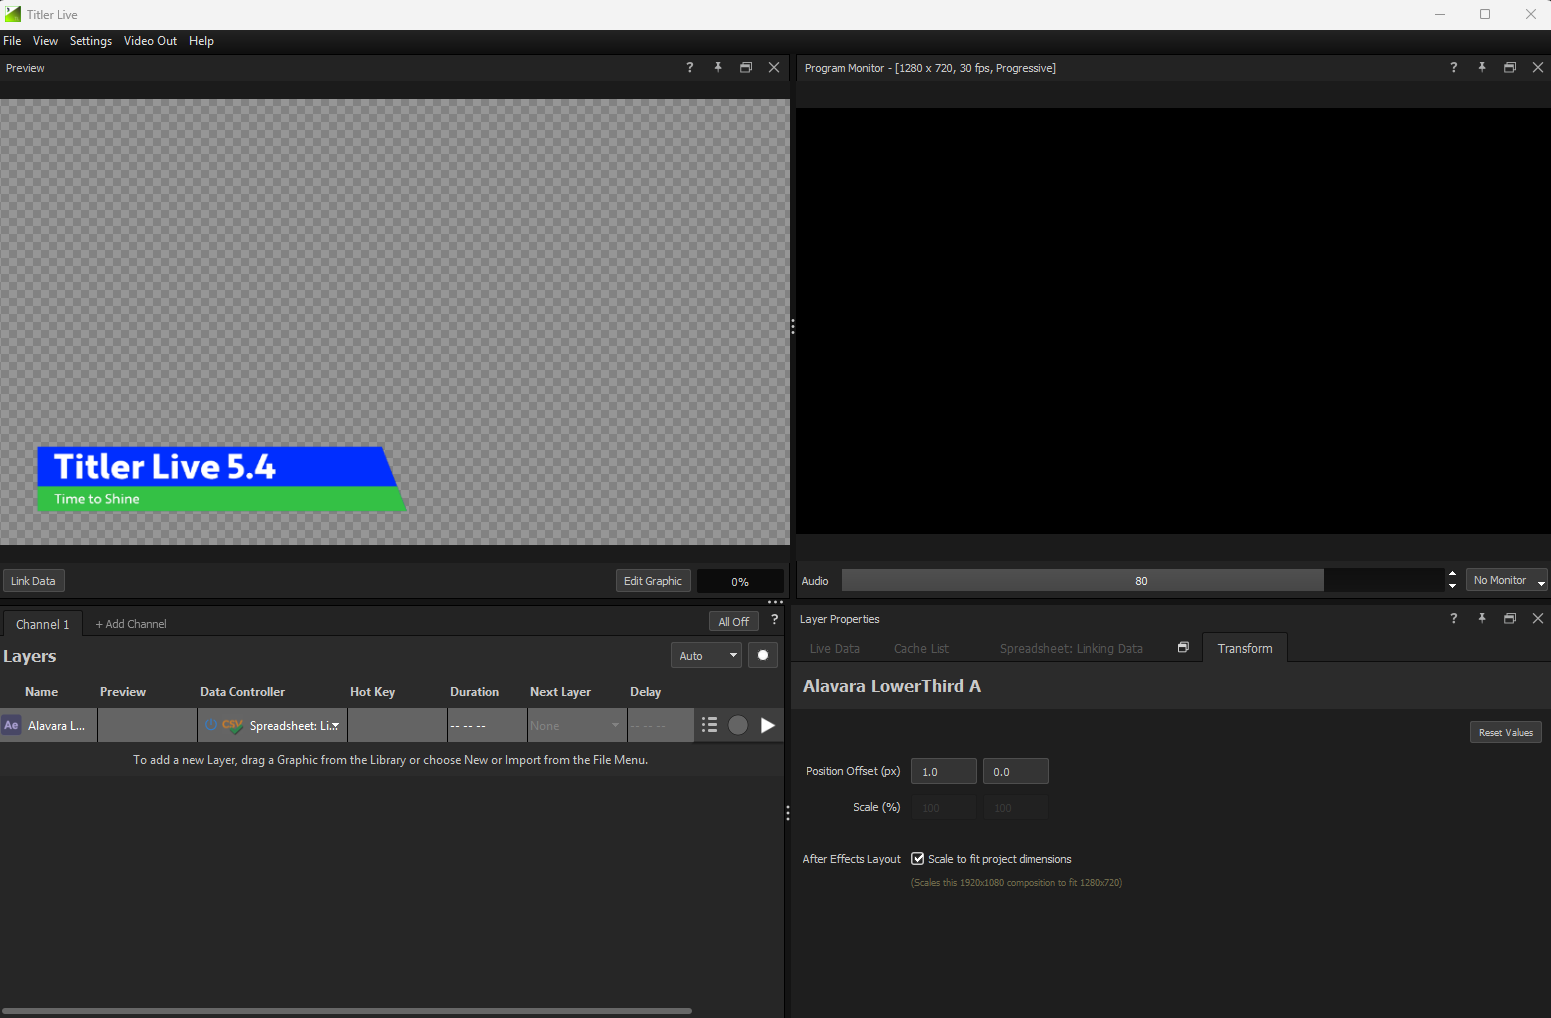
Your After Effects design will now load as a graphics layer and begin rendering in After Effects for playback in Captivate. Please refer to the Live Values tab to directly modify properties of the layer. You can also connect a Data Controller to the imported layer by selecting it in the Layers list and clicking **Select a data source**. Then you may link data to any supported variables in the graphic by clicking **Link Data** in the Preview panel.
### Clearing Cache in After Effects
**❗ IMPORTANT**\
If you run into any issues with your graphic fully rendering upon import, you may want to clear your cache in After Effects.
1. Close Captivate and open the After Effects interface.
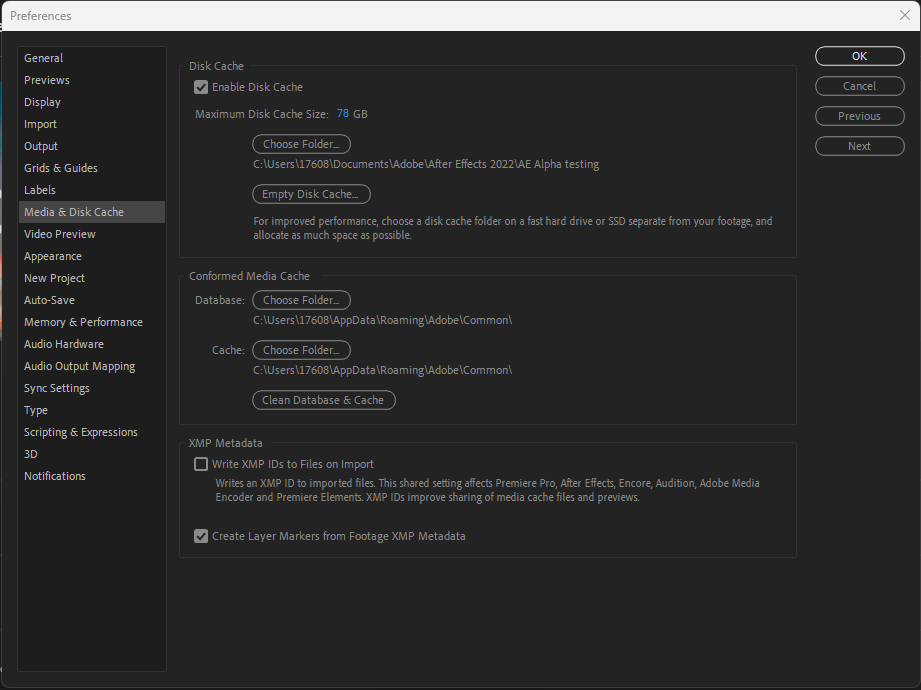
2. Navigate to **Edit** > **Preferences** > **Media and Disk Cache**.
3. Choose **Empty Disk Cache** for optimal results. You also have the option of increasing your Cache size.
## Use the Transform tab
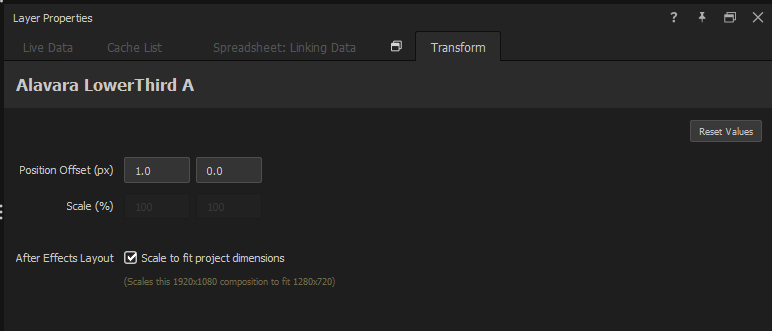
In the Properties panel, there is a Transform tab to provide precise control of your After Effects layers. There are four primary controls in the tab:
{% hint style="info" %}
Layer transformations can also be performed directly in the Preview panel.
{% endhint %}
* **Position Offset (px)** — Specify the distance (in pixels) that the layer will be offset from its default position. The first value represents the X (horizontal) axis and the second is Y (vertical).
* **Scale %** — Control the scale of the layer when **Scale to fit project dimensions** is disabled. The height and width values are linked by default, but they can be unlinked by clicking the link icon.
* **After Effects Layout — Scale to fit project dimensions** — This setting is enabled by default and will automatically scale your After Effects compositions to fit Captivate’s resolution settings. It can be disabled if you wish to scale or position from the native composition resolution. This can be useful if a composition was created at a lower resolution for a small element such as a logo or bug.
* **Reset Values** — Return all values to their defaults.
## Use the Show All Variables toggle
We have added an option to show all of your editable properties during broadcast at the top of the Live Values tab. Properties available to edit live include:
* Text
* Image
* Color
* Checkbox Control
## Update MOGRT properties in the Live Values tab
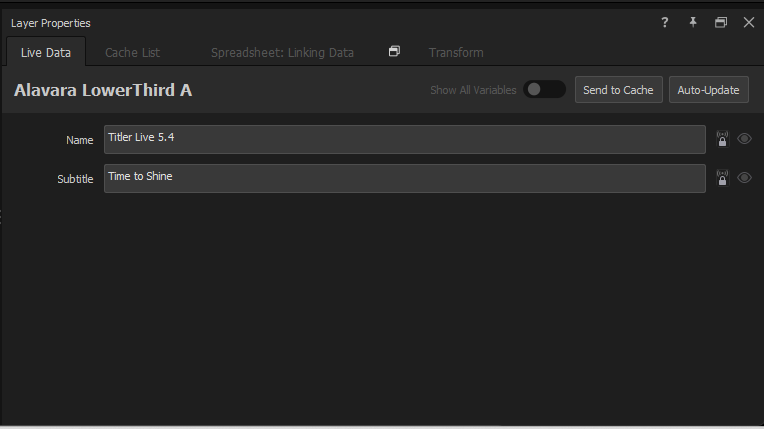
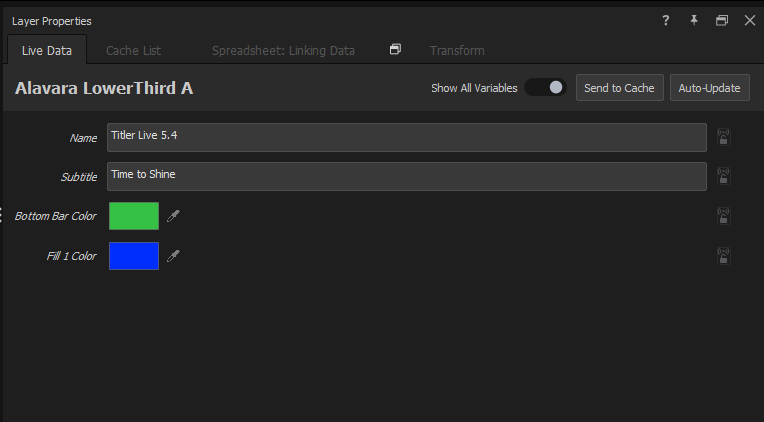
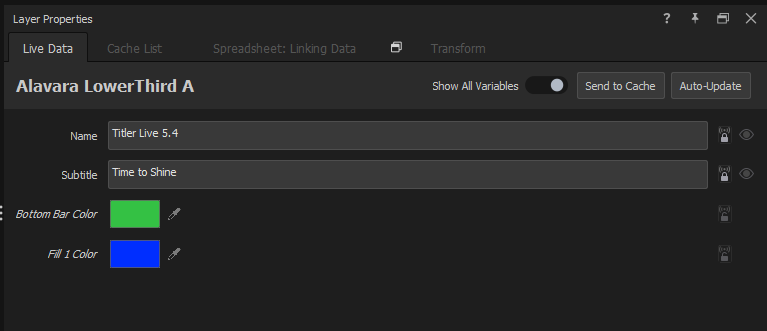
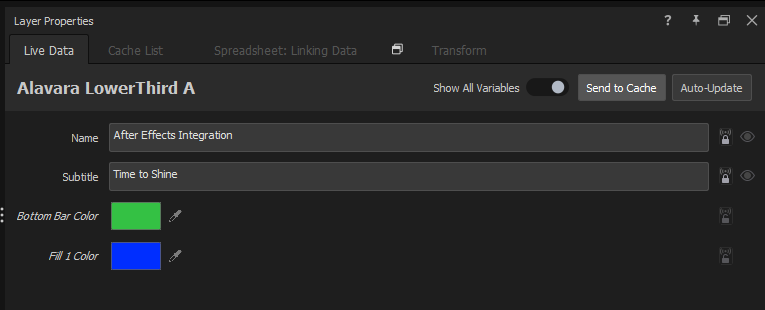
The Live Values tab allows you to edit variables to a single instance of the graphic layer. MOGRT properties that will be available to edit live are listed above in the [Use the Show All Variables toggle](#use-the-show-all-variables-toggle) section. Any edits done in this tab will continuously update your graphic layer as variables are customized.
1. Select the After Effects graphic layer you wish to update from the Project List.
2. The Layer Properties panel will open, which includes the Live Values tab and all variables that are available for the selected graphic layer.
3. Toggle the lock next to the property to enable editing when live. This will also allow you to Send to Cache to save in your Values Grid for managing on-air.
**📌 NOTE**\
Only dynamic variables can be sent to the Values Grid. When the lock is toggled open, then your property is now rendered as static and cannot be edited live or sent to the Values Grid.
4. Whenever you update a property with new information, the graphic layer starts rendering and displays the change when it is fully rendered.
5. You can change as many of the dynamic properties on that graphic as desired and send to the Values Grid to be played live without re-rendering.
**💡 TIP**\
Changes made to your properties while on air default to **Auto Update**, as indicated by the mode button in the top right of the panel. Switch it to **Manually Update** to hold your edits, then send them with the update buttons — without or with the update animation.
For more information on operating your Values Grid, see [Values Grid](/control-your-show/chapter-index/values-grid.md).
**❗ IMPORTANT**\
If you used our pre-cache workflow by saving a Project + cache within Captivate and are now broadcasting on a machine that does not have After Effects installed on it, then the properties will not be available to update live.
---
# Agent Instructions
This documentation is published with GitBook. GitBook is the documentation platform designed so that both humans and AI agents can read, navigate, and reason over technical content effectively. Learn more at gitbook.com.
## Querying This Documentation
If you need additional information that is not directly available in this page, you can query the documentation dynamically by asking a question.
Perform an HTTP GET request on the current page URL with the `ask` query parameter, and the optional `goal` query parameter:
```
GET https://captivatehelp.newbluelive.com/design-and-customize-graphics/chapter-index-6/importing-your-after-effects-design.md?ask=&goal=
```
`ask` is the immediate question: it should be specific, self-contained, and written in natural language.
`goal` is optional and describes the broader end goal you are ultimately trying to accomplish on behalf of the user. GitBook uses it to tailor the answer towards what is most useful for that goal.
The response will contain a direct answer to the question and relevant excerpts and sources from the documentation.
Use this mechanism when the answer is not explicitly present in the current page, you need clarification or additional context, or you want to retrieve related documentation sections.