> For the complete documentation index, see [llms.txt](https://captivatehelp.newbluelive.com/llms.txt). Markdown versions of documentation pages are available by appending `.md` to page URLs; this page is available as [Markdown](https://captivatehelp.newbluelive.com/design-and-customize-graphics/chapter-index-3/create-custom-designs-with-flexible-durations.md).
# Create custom designs with flexible durations
This article describes how to create a graphic operators can play for a specific duration or indefinitely, without trimming or altering playback speed.
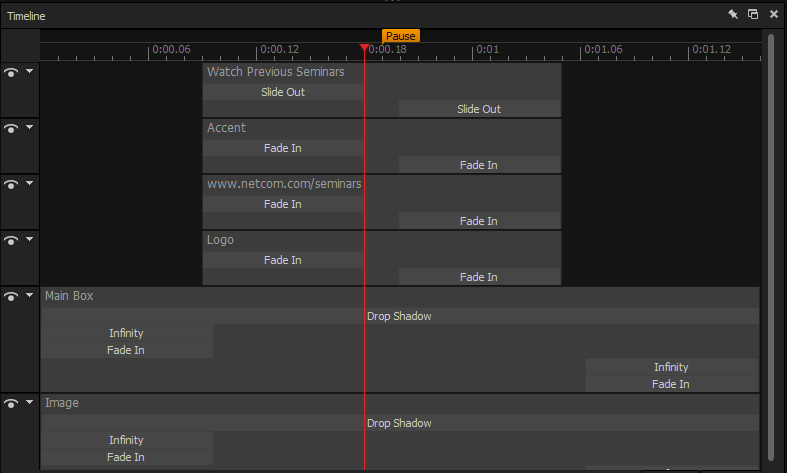
**How does it work?** A graphic’s timeline includes a pause point, identified by the orange indicator above the timeline.
When an operator plays a graphic indefinitely, Captivate pauses on the pause-point frame and displays it while the broadcast continues. When the operator stops playback, the graphic resumes its remaining duration to animate out.
## Marker types
Right-click the timeline ruler to add a marker. The Designer supports five marker types:
* **Pause Point** — the title holds here until you trigger the out cue. The most common marker.
* **Transition Midpoint** — synchronizes a mid-transition keyframe, for example when matching an in/out transition pair.
* **Fade In Endpoint** — marks where the fade-in completes.
* **Fade Out Startpoint** — marks where the fade-out begins.
* **Custom** — an author-named marker you can reference from animation timing.
1. In Captivate’s playout interface, add a graphic layer to the channel.
2. Select the layer and click **Edit Graphic**. The layer opens in the Designer.
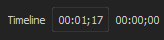
3. Set the graphic’s fixed duration by clicking the **Timeline** field near the bottom-right corner of the canvas, and enter a duration in MM:SS;FF format.
4. Customize the graphic’s layers, animations, and durations.
5. Reposition or adjust layer durations so all animations end before the pause point or start after it.
**❗ IMPORTANT**\
If an animation overlaps the pause point, the graphic may not appear as you intend.
* **Adjust the pause point** — drag it above the timeline so it doesn’t overlap animations.
* **Adjust animation durations** — drag the left or right side of an animation so it doesn’t overlap the pause point.
1\. Preview using the play button below the canvas and adjust if needed. 2. Click \*\*Keep changes\*\* in the bottom-right corner of the Timeline workspace.
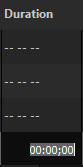
3\. Later, in the Project List, use the \*\*Duration\*\* column to customize how long the graphic remains paused. Setting duration to \`00:00;00\` keeps the graphic paused indefinitely until the operator clicks play.
## Related articles
* [Loop videos and animations in a graphic](/design-and-customize-graphics/chapter-index-3/loop-videos-and-animations-in-a-graphic.md)
---
# Agent Instructions
This documentation is published with GitBook. GitBook is the documentation platform designed so that both humans and AI agents can read, navigate, and reason over technical content effectively. Learn more at gitbook.com.
## Querying This Documentation
If you need additional information that is not directly available in this page, you can query the documentation dynamically by asking a question.
Perform an HTTP GET request on the current page URL with the `ask` query parameter, and the optional `goal` query parameter:
```
GET https://captivatehelp.newbluelive.com/design-and-customize-graphics/chapter-index-3/create-custom-designs-with-flexible-durations.md?ask=&goal=
```
`ask` is the immediate question: it should be specific, self-contained, and written in natural language.
`goal` is optional and describes the broader end goal you are ultimately trying to accomplish on behalf of the user. GitBook uses it to tailor the answer towards what is most useful for that goal.
The response will contain a direct answer to the question and relevant excerpts and sources from the documentation.
Use this mechanism when the answer is not explicitly present in the current page, you need clarification or additional context, or you want to retrieve related documentation sections.