> For the complete documentation index, see [llms.txt](https://captivatehelp.newbluelive.com/llms.txt). Markdown versions of documentation pages are available by appending `.md` to page URLs; this page is available as [Markdown](https://captivatehelp.newbluelive.com/design-and-customize-graphics/chapter-index-3/add-effects-to-design-layers.md).
# Add effects to design layers
When you customize graphics in the Designer, you can add effects to design layers and customize those effects to create animations, warps, and more. Effects include simple filters and complex compositing elements.
* [Add new effects](#add-new-effects)
* [Customize effects](#customize-effects)
**💡 TIP**\
You can use keyframes to change effects in a graphic. See [Animate design layers with keyframes](/design-and-customize-graphics/chapter-index-3/animate-design-layers-with-keyframes.md).
## Add new effects
1. In Captivate’s playout interface, select a graphic layer from the Project List, then click the **Edit Graphic** button in the Preview panel.
2. In the Designer, select a design layer in the canvas or Timeline workspace.
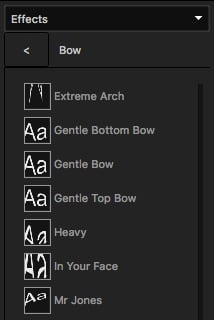
3. Open the Library panel and select **Effects** from the dropdown at the top of the Library panel.
4. To browse effects:
* Double-click a folder to browse effects within that category.
* Hover the pointer over an effect to preview it on your selected design layer.
5. To add an effect to the selected design layer, double-click it.
**💡 TIP**\
You can also drag and drop an effect onto a design layer in the canvas or Timeline.
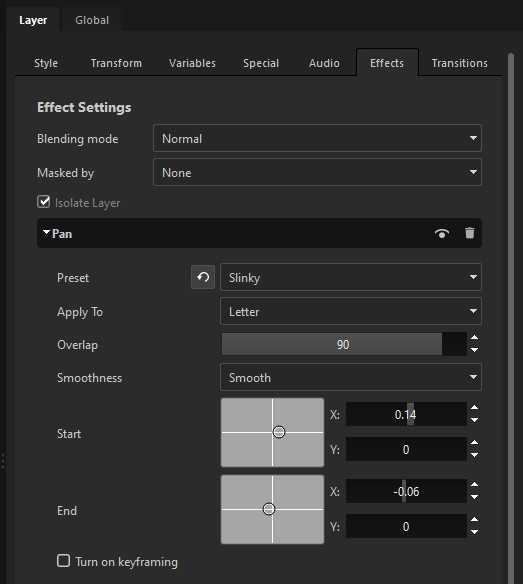
When you add an effect, the **Properties > Effects** tab opens with editable attributes.
## Customize effects
To access effects in a graphic, click a design layer in the Designer’s canvas or Timeline, then click the **Properties > Effects** tab.
### Blend design layers
Blending modes determine how a design layer’s color and fill interact with elements behind it. Select a design layer, then select a blending mode from the **Blending mode** dropdown in **Properties > Effects**:
* Normal
* Hue
* Pop
* Screen
* Multiply
* Lighten
* Darken
* ColorDodge
* ColorBurn
* Negation
* Additive
* Mask
When you choose **Mask**, three additional checkboxes appear on the mask source layer:
* **Mask Using Luma** — use the brightness of the mask layer’s pixels instead of its alpha channel.
* **Invert Mask** — invert the mask so opaque areas become transparent and vice versa.
* **Preview Mask** — show the mask preview overlay on the canvas while editing.
On other (non-mask) design layers, a **Masked by** dropdown appears: choose which Mask-mode layer in the scene masks this layer. The default value is **None** (no masking). This replaces the older "Mask Single Layer Only" toggle: instead of telling the mask to scope itself, you tell each consumer layer which mask to be clipped by.
{% hint style="info" %}
In the project XML and undo history, the **Mask** blending mode is identified by its source name **Stencil**. Look for **Stencil** when editing project XML directly.
{% endhint %}
### Isolate layers
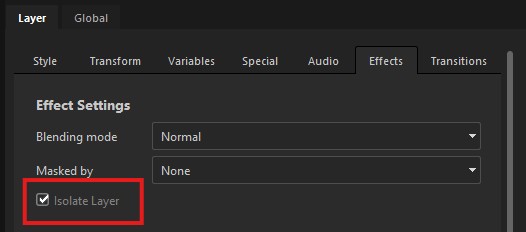
Isolate a design layer so it renders on its own and stops intersecting or clipping into the layers around it — it ignores the usual front-to-back (z-depth) ordering with the rest of the scene. This is useful for a 3D layer that would otherwise poke through a layer in front of it.
{% hint style="info" %}
Isolated design layers render separately. Enabling this increases render times.
{% endhint %}
Select the design layer, then mark **Isolate Layer** in **Properties > Effects**.
### Apply effect-specific attributes
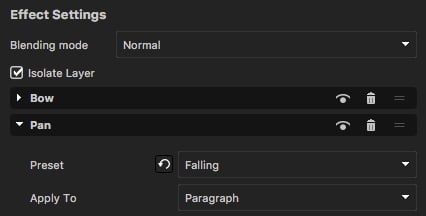
Effect attributes appear in separate dropdown sections named for the effect applied to the layer. Adjust attributes or select predefined settings from the **Preset** dropdown in **Properties > Effects**.
{% hint style="info" %}
You can change preset settings, but selecting a different preset discards changes to the previously selected preset.
{% endhint %}
---
# Agent Instructions
This documentation is published with GitBook. GitBook is the documentation platform designed so that both humans and AI agents can read, navigate, and reason over technical content effectively. Learn more at gitbook.com.
## Querying This Documentation
If you need additional information that is not directly available in this page, you can query the documentation dynamically by asking a question.
Perform an HTTP GET request on the current page URL with the `ask` query parameter, and the optional `goal` query parameter:
```
GET https://captivatehelp.newbluelive.com/design-and-customize-graphics/chapter-index-3/add-effects-to-design-layers.md?ask=&goal=
```
`ask` is the immediate question: it should be specific, self-contained, and written in natural language.
`goal` is optional and describes the broader end goal you are ultimately trying to accomplish on behalf of the user. GitBook uses it to tailor the answer towards what is most useful for that goal.
The response will contain a direct answer to the question and relevant excerpts and sources from the documentation.
Use this mechanism when the answer is not explicitly present in the current page, you need clarification or additional context, or you want to retrieve related documentation sections.