> For the complete documentation index, see [llms.txt](https://captivatehelp.newbluelive.com/llms.txt). Markdown versions of documentation pages are available by appending `.md` to page URLs; this page is available as [Markdown](https://captivatehelp.newbluelive.com/design-and-customize-graphics/chapter-index-2/make-a-graphic-tutorial.md).
# Build a graphic end to end
Captivate allows you to create sophisticated graphics with the included Designer. This is where you build the design layers and variables that drive the visual and dynamic data elements of your broadcast.
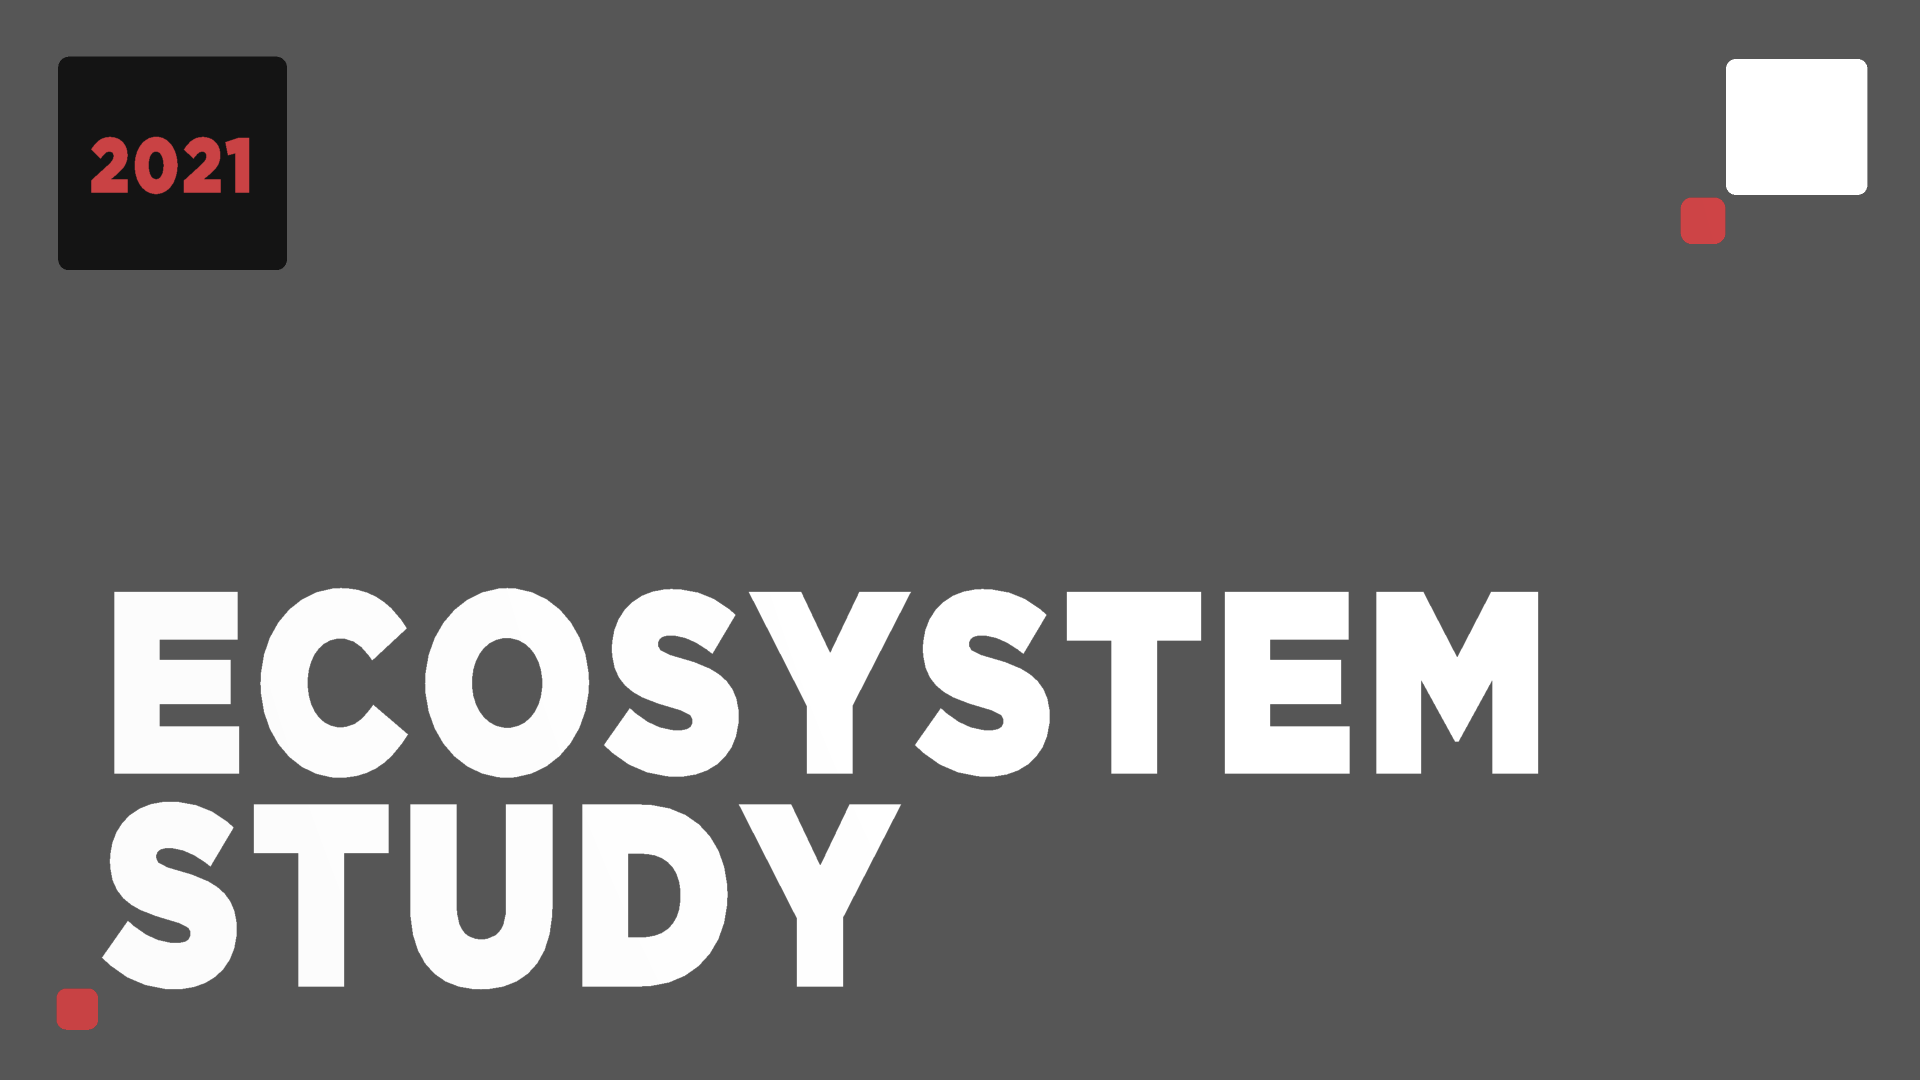
By the end of this tutorial, you’ll have a graphic with editable text variables — built in the Designer, saved to your Library, and ready to drive from the playout interface.
1. Open the Designer.
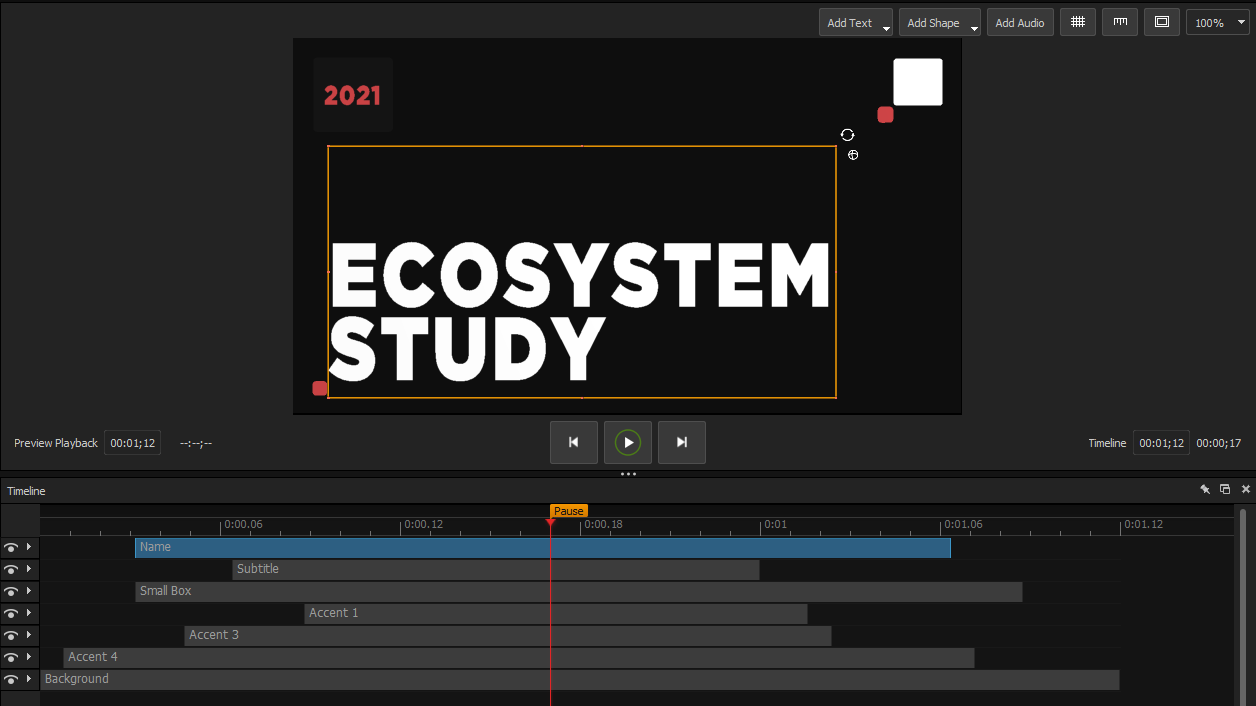
2. Add a couple of text layers using the **Add Text** button above the canvas, type your desired text, and select a font from **Properties > Style**. Adjust by repositioning or resizing in the canvas, or via **Properties > Transform**.
3. Add other visual elements like shapes from the **Add Shape** button.
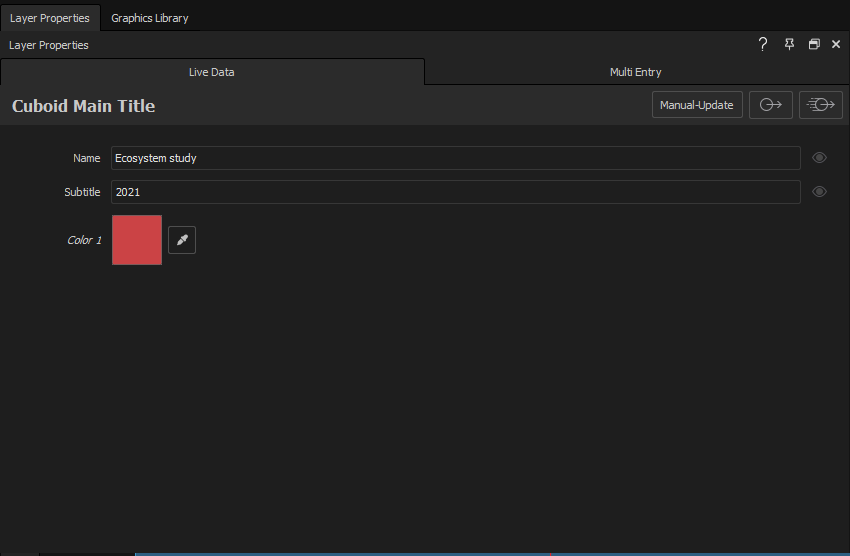
4. Set the variables you wish to be editable from **Properties > Variables**. The **Variable Settings** section enables text layers to become variables. Name them according to what should appear in Captivate’s Live Values tab.
See [Create variables in graphics](/design-and-customize-graphics/chapter-index-4/create-variables-in-graphics.md).
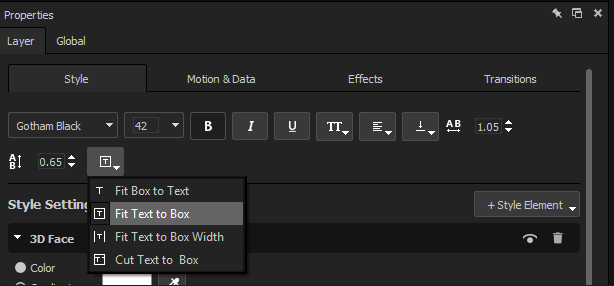
5. Set justification, alignment, and text fit modes from **Properties > Style**. For example, center justification on both text layers; alignment Bottom on the top paragraph and Top on the bottom paragraph; **Fit Text to Box** fit mode and stretch the box to the Title Safe margins.
6. Animate in your title. Go to the Library and select transitions. Apply them to the beginning and end of the text layer. See [Add transitions to design layers](/design-and-customize-graphics/chapter-index-3/add-transitions-to-design-layers.md).
7. Optimize the title for performance: make the graphic as short as possible while keeping in/out animations intact, leveraging Captivate’s pause point. See [Create custom designs with flexible durations](/design-and-customize-graphics/chapter-index-3/create-custom-designs-with-flexible-durations.md).
8. Make beginning transitions short and drag the pause point to right after the in animations. Shorten the layer length to leave a few frames of no motion at the pause point. All durations after the pause point are treated as the animate-out.
9. Save the graphic. Choose **File > Save to Library > Design**. Name your graphic to find it in the library.
{% hint style="info" %}
Your graphic is now saved and accessible from the Captivate graphics library.
{% endhint %}
---
# Agent Instructions
This documentation is published with GitBook. GitBook is the documentation platform designed so that both humans and AI agents can read, navigate, and reason over technical content effectively. Learn more at gitbook.com.
## Querying This Documentation
If you need additional information that is not directly available in this page, you can query the documentation dynamically by asking a question.
Perform an HTTP GET request on the current page URL with the `ask` query parameter, and the optional `goal` query parameter:
```
GET https://captivatehelp.newbluelive.com/design-and-customize-graphics/chapter-index-2/make-a-graphic-tutorial.md?ask=&goal=
```
`ask` is the immediate question: it should be specific, self-contained, and written in natural language.
`goal` is optional and describes the broader end goal you are ultimately trying to accomplish on behalf of the user. GitBook uses it to tailor the answer towards what is most useful for that goal.
The response will contain a direct answer to the question and relevant excerpts and sources from the documentation.
Use this mechanism when the answer is not explicitly present in the current page, you need clarification or additional context, or you want to retrieve related documentation sections.