> For the complete documentation index, see [llms.txt](https://captivatehelp.newbluelive.com/llms.txt). Markdown versions of documentation pages are available by appending `.md` to page URLs; this page is available as [Markdown](https://captivatehelp.newbluelive.com/design-and-customize-graphics/chapter-index-1/designer-workspace-overview.md).
# Designer Workspace panel
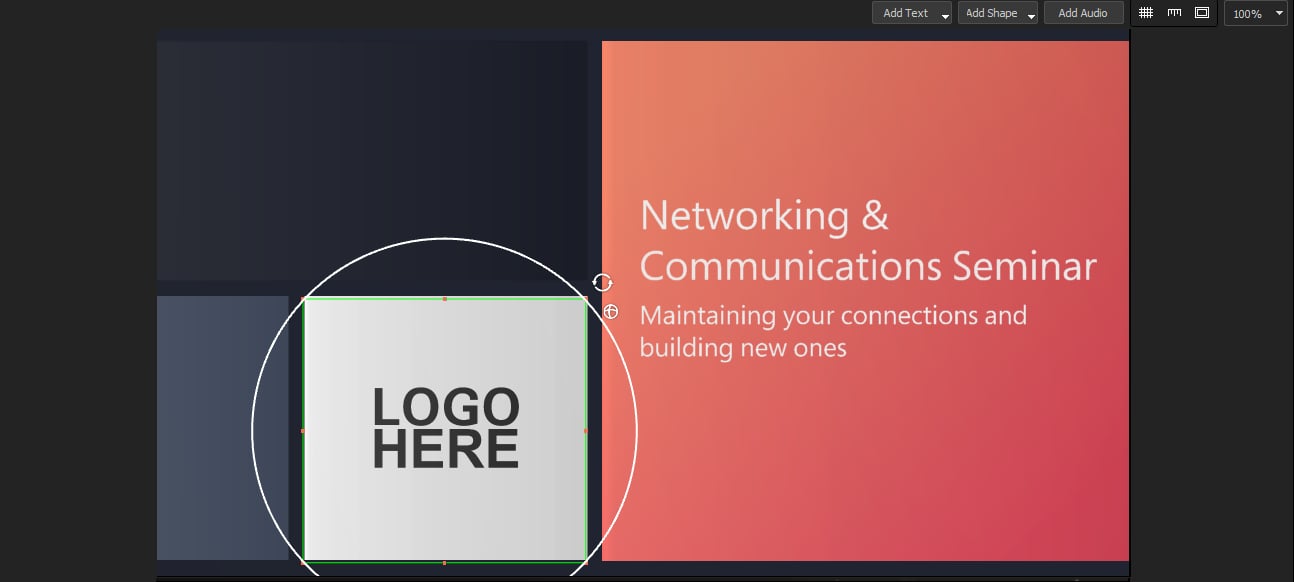
The Workspace canvas is the Designer’s main view and a direct, visual editor: you build a graphic by working on it with the mouse. Click a layer to select it, drag to move it, drag its handles to resize or rotate it, and double-click text to edit it in place. The [Properties panel](/design-and-customize-graphics/chapter-index-1/designer-properties-panel.md) and the [Timeline](/design-and-customize-graphics/chapter-index-1/designer-timeline-overview.md) give you precise, numeric control, but most of the design happens right on the canvas.
## Work directly on the canvas
Every visual layer — text, shape, or image — can be selected and shaped on the canvas:
* **Select** — click a layer. A selection box appears around it. Click an empty area to deselect.
* **Move** — drag the body of the selected layer to reposition it.
* **Resize** — drag the handles on the selection box. The corner handles scale both dimensions at once; the edge handles scale one.
* **Rotate in 2D** — drag the rotate handle above the selection box.
* **Rotate in 3D** — click the globe to turn on 3D rotation, then drag to spin the layer in three dimensions. Click the globe or an empty area to turn it off.
* **Edit text** — double-click a text layer to place a cursor and type. You can also select individual letters to move, scale, or rotate them on their own.
* **Nudge** — with a layer selected, use the arrow keys to move it a pixel at a time.
{% hint style="info" %}
For exact values, the **Properties > Transform** tab holds numeric position, scale, and rotation in both 2D and 3D.
{% endhint %}
**💡 TIP**\
Press Ctrl/Cmd + H to hide or show the selected layer’s bounding box.
## Select multiple layers at once
To work on several layers together, lasso-select them by dragging from an empty area:
* On the canvas, start the drag away from any layer, then drag across the layers you want.
* In the Timeline, start the drag near a layer and drag across the others.
Hold Shift while clicking to add or remove individual layers from the selection.
## Align with grids, guidelines, and safe margins
The Workspace includes alignment aids at the top of the canvas.
Layers snap to grids and guidelines when those are on; hold Alt to disable snapping temporarily.
### Marking grid
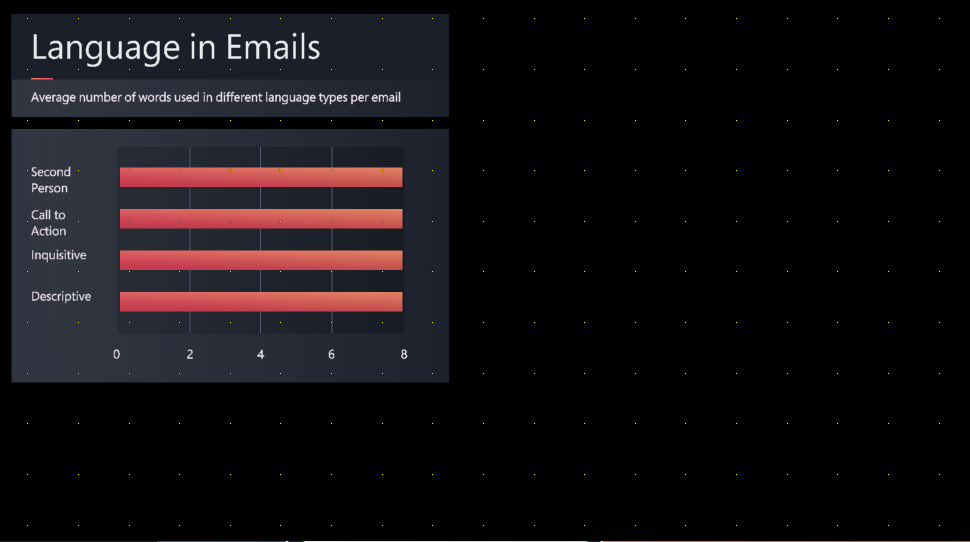
Click the **Marking Grid** button to show a grid across the canvas.
### Rules and guidelines
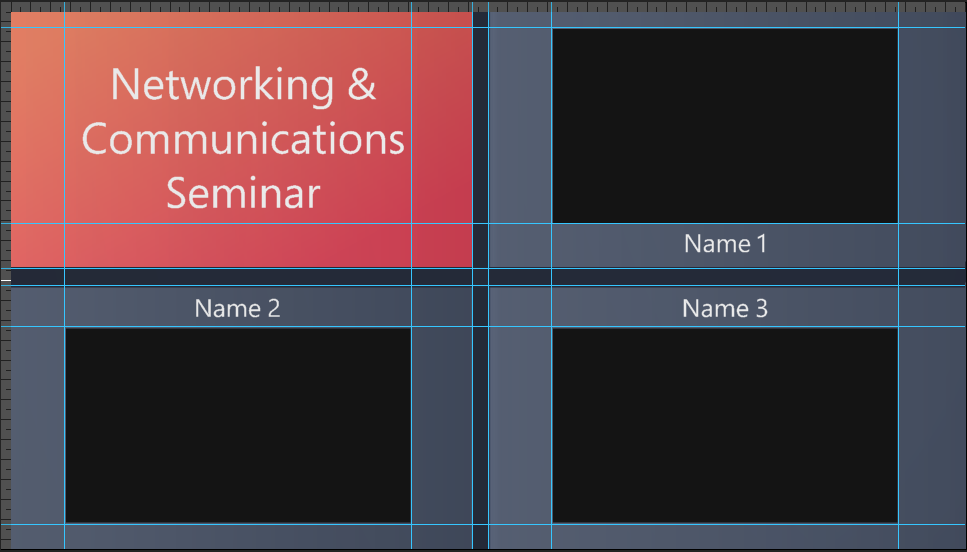
1. Click the **Guidelines** button to show the horizontal and vertical rules.
2. To add a guideline, drag from the side rule (for a horizontal guideline) or the top rule (for a vertical one) into the canvas.
3. To move a guideline, drag its end. To remove one, drag its end back to the rule. To clear them all, choose **View > Clear Guidelines**.
### Safe margins and crosshairs
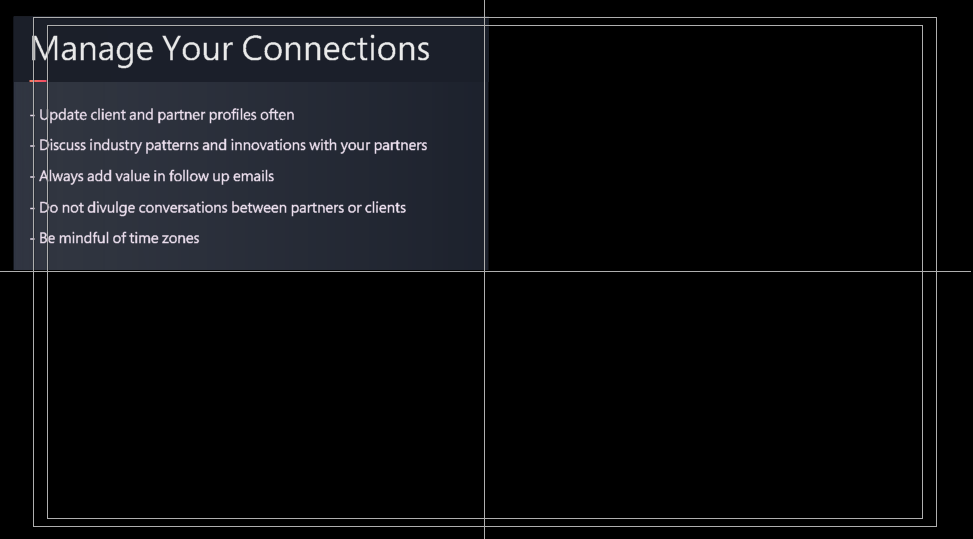
Click the **Safe Margins** button to show the title-safe areas.
To choose the aspect ratio and turn crosshairs on, choose **View > Margins setup** and select **Crosshairs**, **16:9 Margins**, **16:9 HD Margins**, or **4:3 Margins**.
## Zoom and pan the canvas
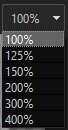
Choose a percentage from the **Zoom** dropdown in the top-right corner of the Workspace.
When the zoom is above 100%, move around the canvas by dragging the scrollbars or the panning square at the bottom-right corner. You can also **hold Ctrl (Cmd on macOS) and drag** an empty part of the canvas to pan directly — the pointer becomes a hand while you drag.
To reverse the drag direction when panning, turn on **Invert Pan Behavior** in the Designer’s **Preferences**.
## Arrange the Designer’s panels
The Designer’s panels — the canvas, Library, Properties, and Timeline — dock, tab, float, and pin exactly like the playout workspace’s panels, and the arrangement is saved automatically and restored the next time you open the Designer. Designer panels are never closed outright: the **View** menu hides and shows them, and the canvas itself is always on screen. See [Customize Captivate’s layout](/get-started/chapter-index-2/customize-your-layout.md) for the drag, pin, and float mechanics.
## Get help inside the Designer
The Designer has its own **Help Center**. Choose **Help** > **Help Center** to open a docked panel — it opens on the right — that shows this help site without leaving the Designer. It stays where you dock it and reopens the next time you open the Designer.
## Related
* [Designer Timeline panel](/design-and-customize-graphics/chapter-index-1/designer-timeline-overview.md)
* [Designer Properties panel](/design-and-customize-graphics/chapter-index-1/designer-properties-panel.md)
---
# Agent Instructions
This documentation is published with GitBook. GitBook is the documentation platform designed so that both humans and AI agents can read, navigate, and reason over technical content effectively. Learn more at gitbook.com.
## Querying This Documentation
If you need additional information that is not directly available in this page, you can query the documentation dynamically by asking a question.
Perform an HTTP GET request on the current page URL with the `ask` query parameter, and the optional `goal` query parameter:
```
GET https://captivatehelp.newbluelive.com/design-and-customize-graphics/chapter-index-1/designer-workspace-overview.md?ask=&goal=
```
`ask` is the immediate question: it should be specific, self-contained, and written in natural language.
`goal` is optional and describes the broader end goal you are ultimately trying to accomplish on behalf of the user. GitBook uses it to tailor the answer towards what is most useful for that goal.
The response will contain a direct answer to the question and relevant excerpts and sources from the documentation.
Use this mechanism when the answer is not explicitly present in the current page, you need clarification or additional context, or you want to retrieve related documentation sections.