> For the complete documentation index, see [llms.txt](https://captivatehelp.newbluelive.com/llms.txt). Markdown versions of documentation pages are available by appending `.md` to page URLs; this page is available as [Markdown](https://captivatehelp.newbluelive.com/control-your-show/chapter-index-3/stream-deck-direct-plugin.md).
# Play graphics using an Elgato Stream Deck
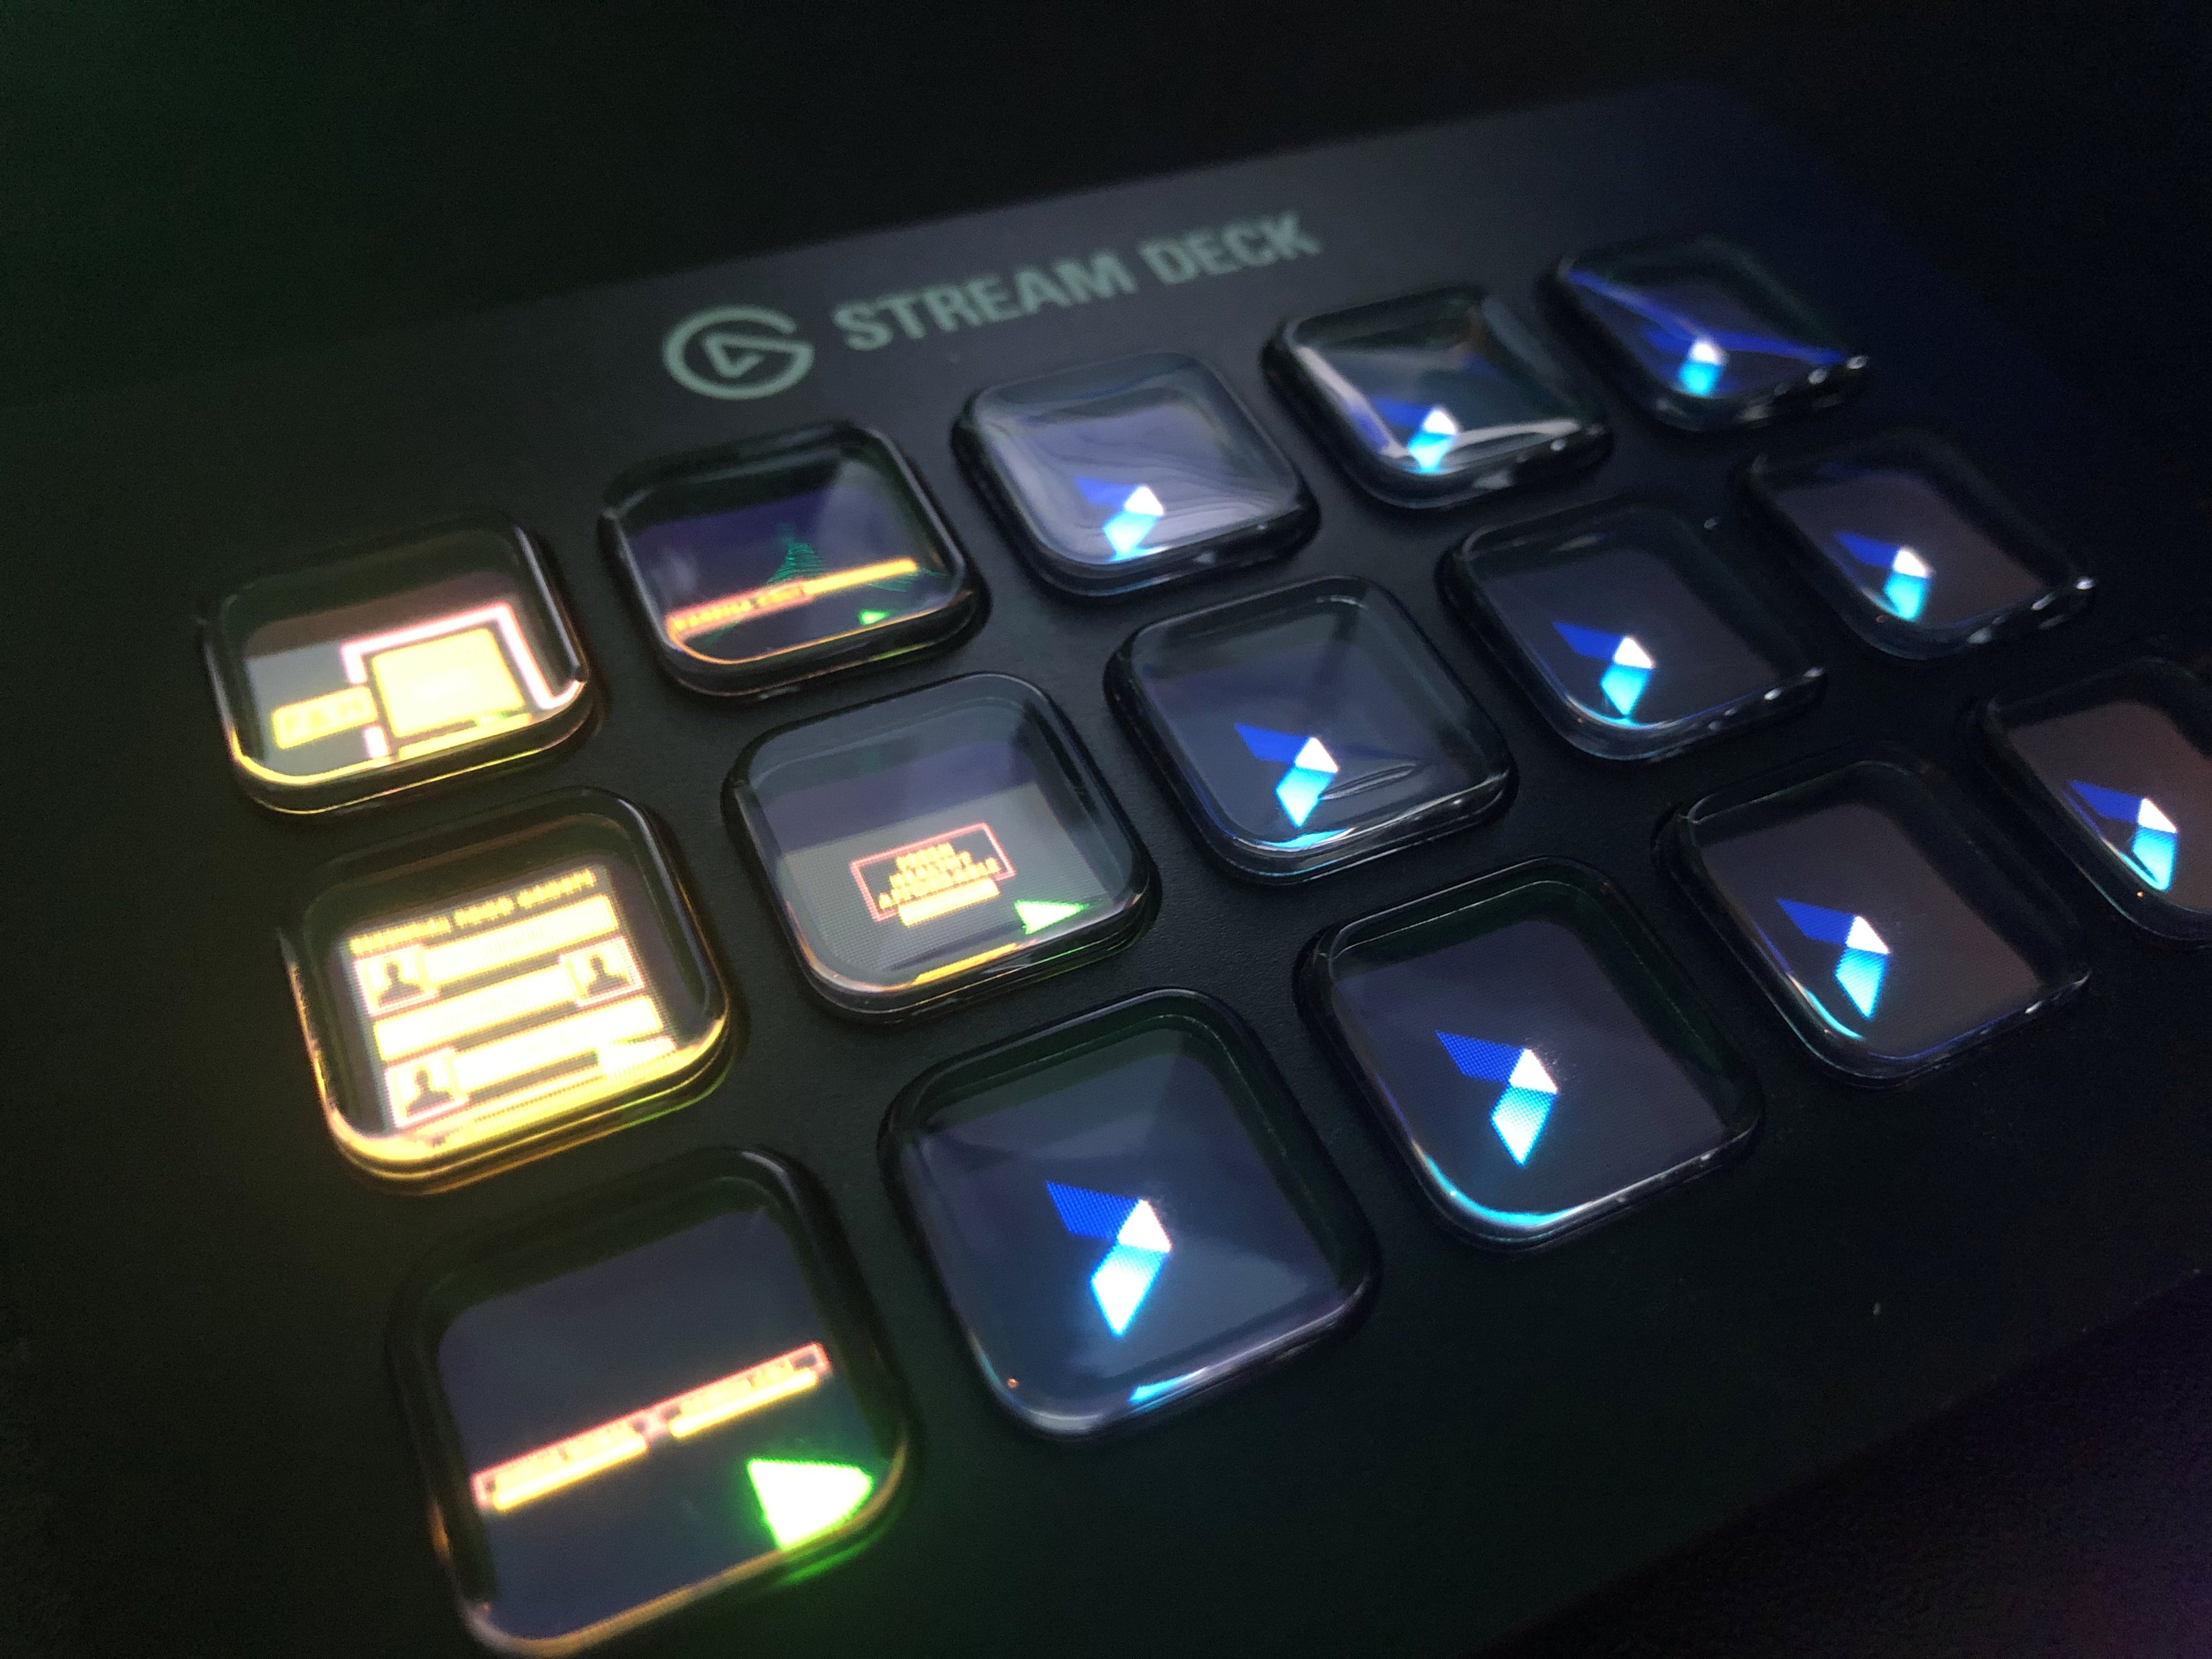
Captivate ships a direct Elgato Stream Deck plugin. The plugin runs on the same machine as Captivate and talks to it over a local WebSocket — there is no Companion middleware, no network configuration, and no extra UI surface to learn. Use it when you want a dedicated tactile surface for playing on-air titles from this Captivate instance.
{% hint style="info" %}
This article covers the **direct** Stream Deck plugin (one machine, no Companion). For cross-machine workflows, multi-button macros, or web/mobile buttons, see [Operate Bitfocus Companion with Stream Deck](/control-your-show/chapter-index-4/operating-bitfocus-companion-via-streamdeck.md).
{% endhint %}
* [Set up the Stream Deck application](#set-up-the-stream-deck-application)
* [Configure a button](#configure-a-button)
* [Play titles from Stream Deck](#play-titles-from-stream-deck)
## Set up the Stream Deck application
The Elgato Stream Deck application must be installed on the machine running Captivate. Download it from [Elgato’s downloads page](https://www.elgato.com/en/downloads) and pick the build that matches your Stream Deck hardware and operating system.
1. Launch the Stream Deck application.
2. Open the **Stream Deck Store** and switch to the **Plugins** category.
3. Search for **NewBlue Captivate** and install the plugin.
**📌 NOTE**\
The plugin manifest (v2.0.0.9 onwards) ships as **NewBlue Captivate** with category **NewBlue Captivate** and UUID `com.newblue.captivate`. Earlier versions of the same plugin shipped as **NewBlue Titler Live**; if your machine already has the Titler Live version installed, uninstall it first or let the new install replace it.
4. After install, the Stream Deck app offers to populate your device with a default profile of Captivate buttons. Accept the offer to get a working profile out of the box; pick **No** to start from a blank profile.
The plugin connects to Captivate automatically using `ws://localhost:9023/streamdeck-native`. Captivate must be running on the same machine; there is no host/port configuration to change.
## Configure a button
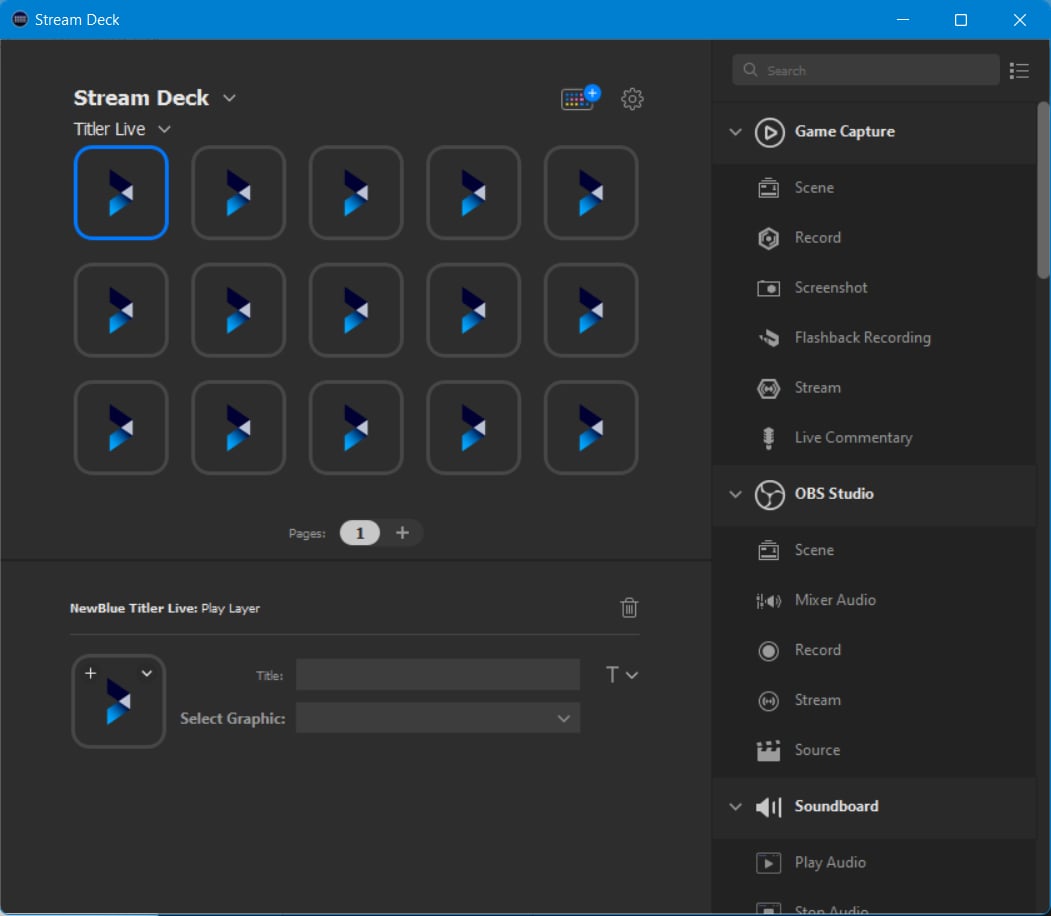
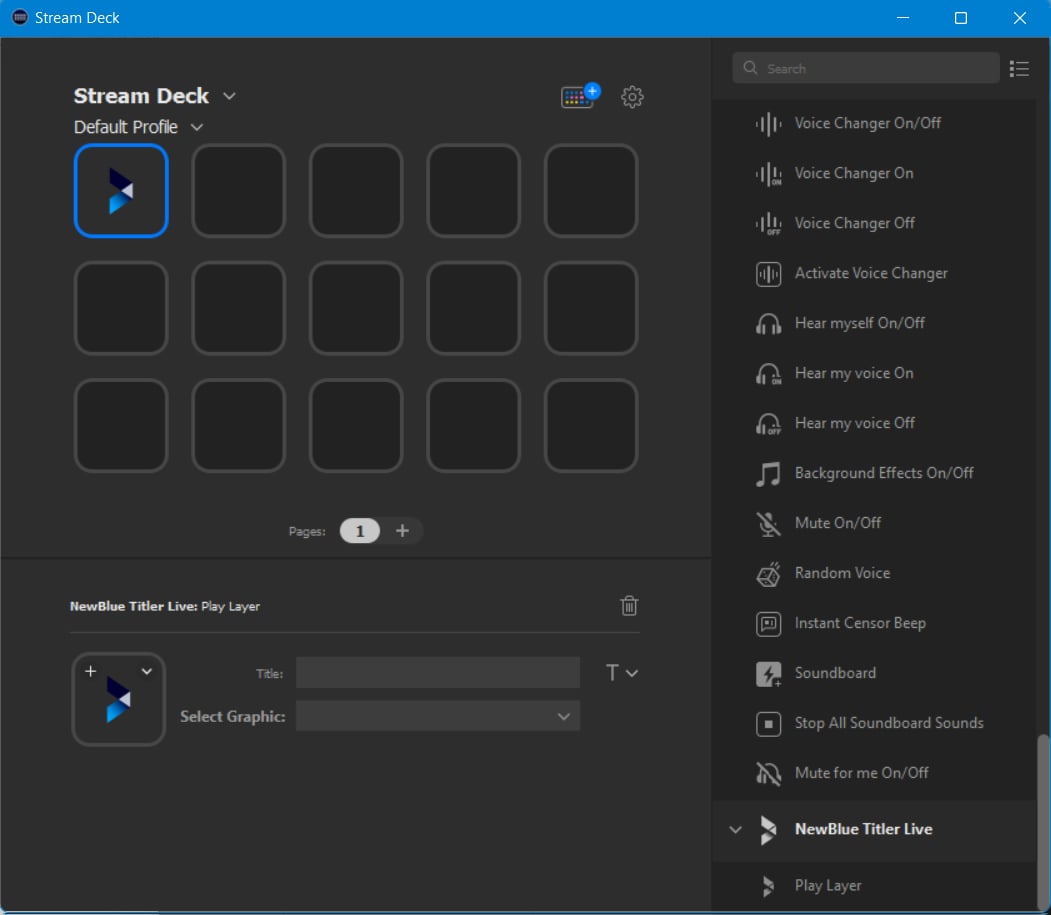
The plugin exposes two user-visible actions in the Stream Deck app’s right-side action list, under the **NewBlue Captivate** category:
* **Play Title** — pick a graphic layer from your active Captivate project; pressing the Stream Deck button takes that layer on-air. Press again to take it off.
* **Advanced Automation** — pick a dynamically-published automation preset from Captivate. Use this when your show has published presets (sequences, macros, scenes) that you want bound to a hardware button. This action can also sit on a Stream Deck + dial, not just a key.
{% hint style="info" %}
The plugin also includes a **Counter** action but it is hidden by default. If your operator workflow needs it, surface it through your Stream Deck profile’s filter / category settings.
{% endhint %}
To configure a **Play Title** button:
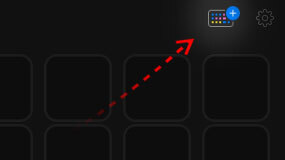
1. Drag **Play Title** from the right-side action list onto an empty button on the Stream Deck canvas.
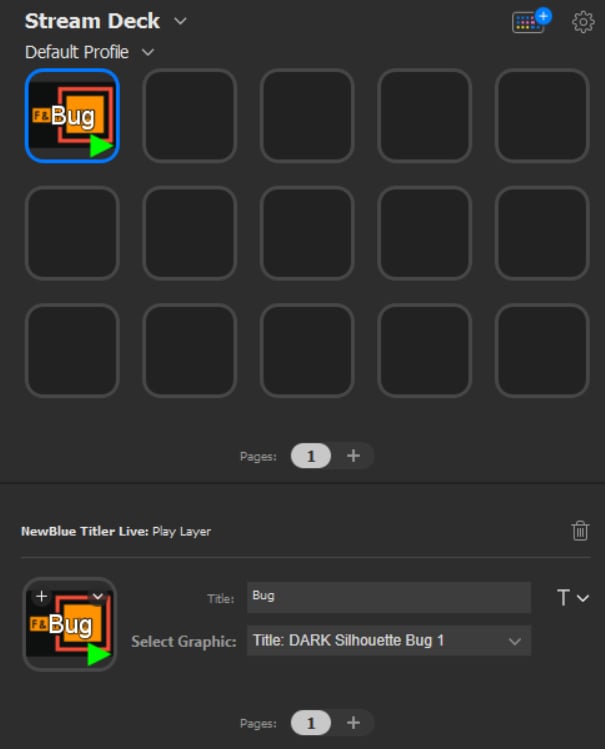
2. Select the assigned button.
3. Set a **Title** — this is the label shown in the Stream Deck application and (when no graphic thumbnail is available) on the device itself.
4. From the **Select Graphic** dropdown, pick the graphic layer in your Captivate project that this button should play.
You can drag **Play Title** onto as many buttons as you like to bind multiple project layers; each button is configured independently.
For **Advanced Automation** buttons, the **Select Automation** dropdown lists every preset that Captivate has published for automation. The list refreshes as the project changes.
## Play titles from Stream Deck
Once your buttons are configured:
1. Press a **Play Title** button to take that layer on-air. Captivate renders the layer through **Program Monitor** the same way it would respond to a take inside the playout interface.
2. The button shows a red play indicator while the layer is live. Press the same button again to take it off.
3. Captivate layers added to a Stream Deck button generate a thumbnail preview when one is available, so the device shows the graphic instead of a generic icon.
**💡 TIP**\
Live video and media layers in your Captivate project can also be assigned to a **Play Title** button.
## When to use this instead of Companion
The direct plugin is the simpler choice for **one operator, one machine**:
* No Bitfocus Companion install required.
* No network configuration — uses local WebSocket on `localhost:9023`.
* Two actions cover almost every take-a-title workflow.
Use [Companion](/control-your-show/chapter-index-4/operating-bitfocus-companion-via-streamdeck.md) instead when you need cross-machine control, mobile/web buttons, multi-action stacks, or feedback-rich button surfaces.
## Related
* [Operate Bitfocus Companion with Stream Deck](/control-your-show/chapter-index-4/operating-bitfocus-companion-via-streamdeck.md)
* [Captivate presets in Companion](/control-your-show/chapter-index-4/presets-in-companion.md)
---
# Agent Instructions
This documentation is published with GitBook. GitBook is the documentation platform designed so that both humans and AI agents can read, navigate, and reason over technical content effectively. Learn more at gitbook.com.
## Querying This Documentation
If you need additional information that is not directly available in this page, you can query the documentation dynamically by asking a question.
Perform an HTTP GET request on the current page URL with the `ask` query parameter, and the optional `goal` query parameter:
```
GET https://captivatehelp.newbluelive.com/control-your-show/chapter-index-3/stream-deck-direct-plugin.md?ask=&goal=
```
`ask` is the immediate question: it should be specific, self-contained, and written in natural language.
`goal` is optional and describes the broader end goal you are ultimately trying to accomplish on behalf of the user. GitBook uses it to tailor the answer towards what is most useful for that goal.
The response will contain a direct answer to the question and relevant excerpts and sources from the documentation.
Use this mechanism when the answer is not explicitly present in the current page, you need clarification or additional context, or you want to retrieve related documentation sections.